

Delco Distributor


Hi! For this project, I repaired this dirty, rusty, incomplete Delco distributor, which is a vital component for giving a classic Triumph sports car the spark it needs to run. All the various steps of the transformation are below, and I hope you find the process just as enjoyable as I did.
This is only one small part of a total restoration of the car, which has featured the use of WD-40 in nearly every conceivable area. And - much like WD-40, both the Delco and the Triumph are made in England!
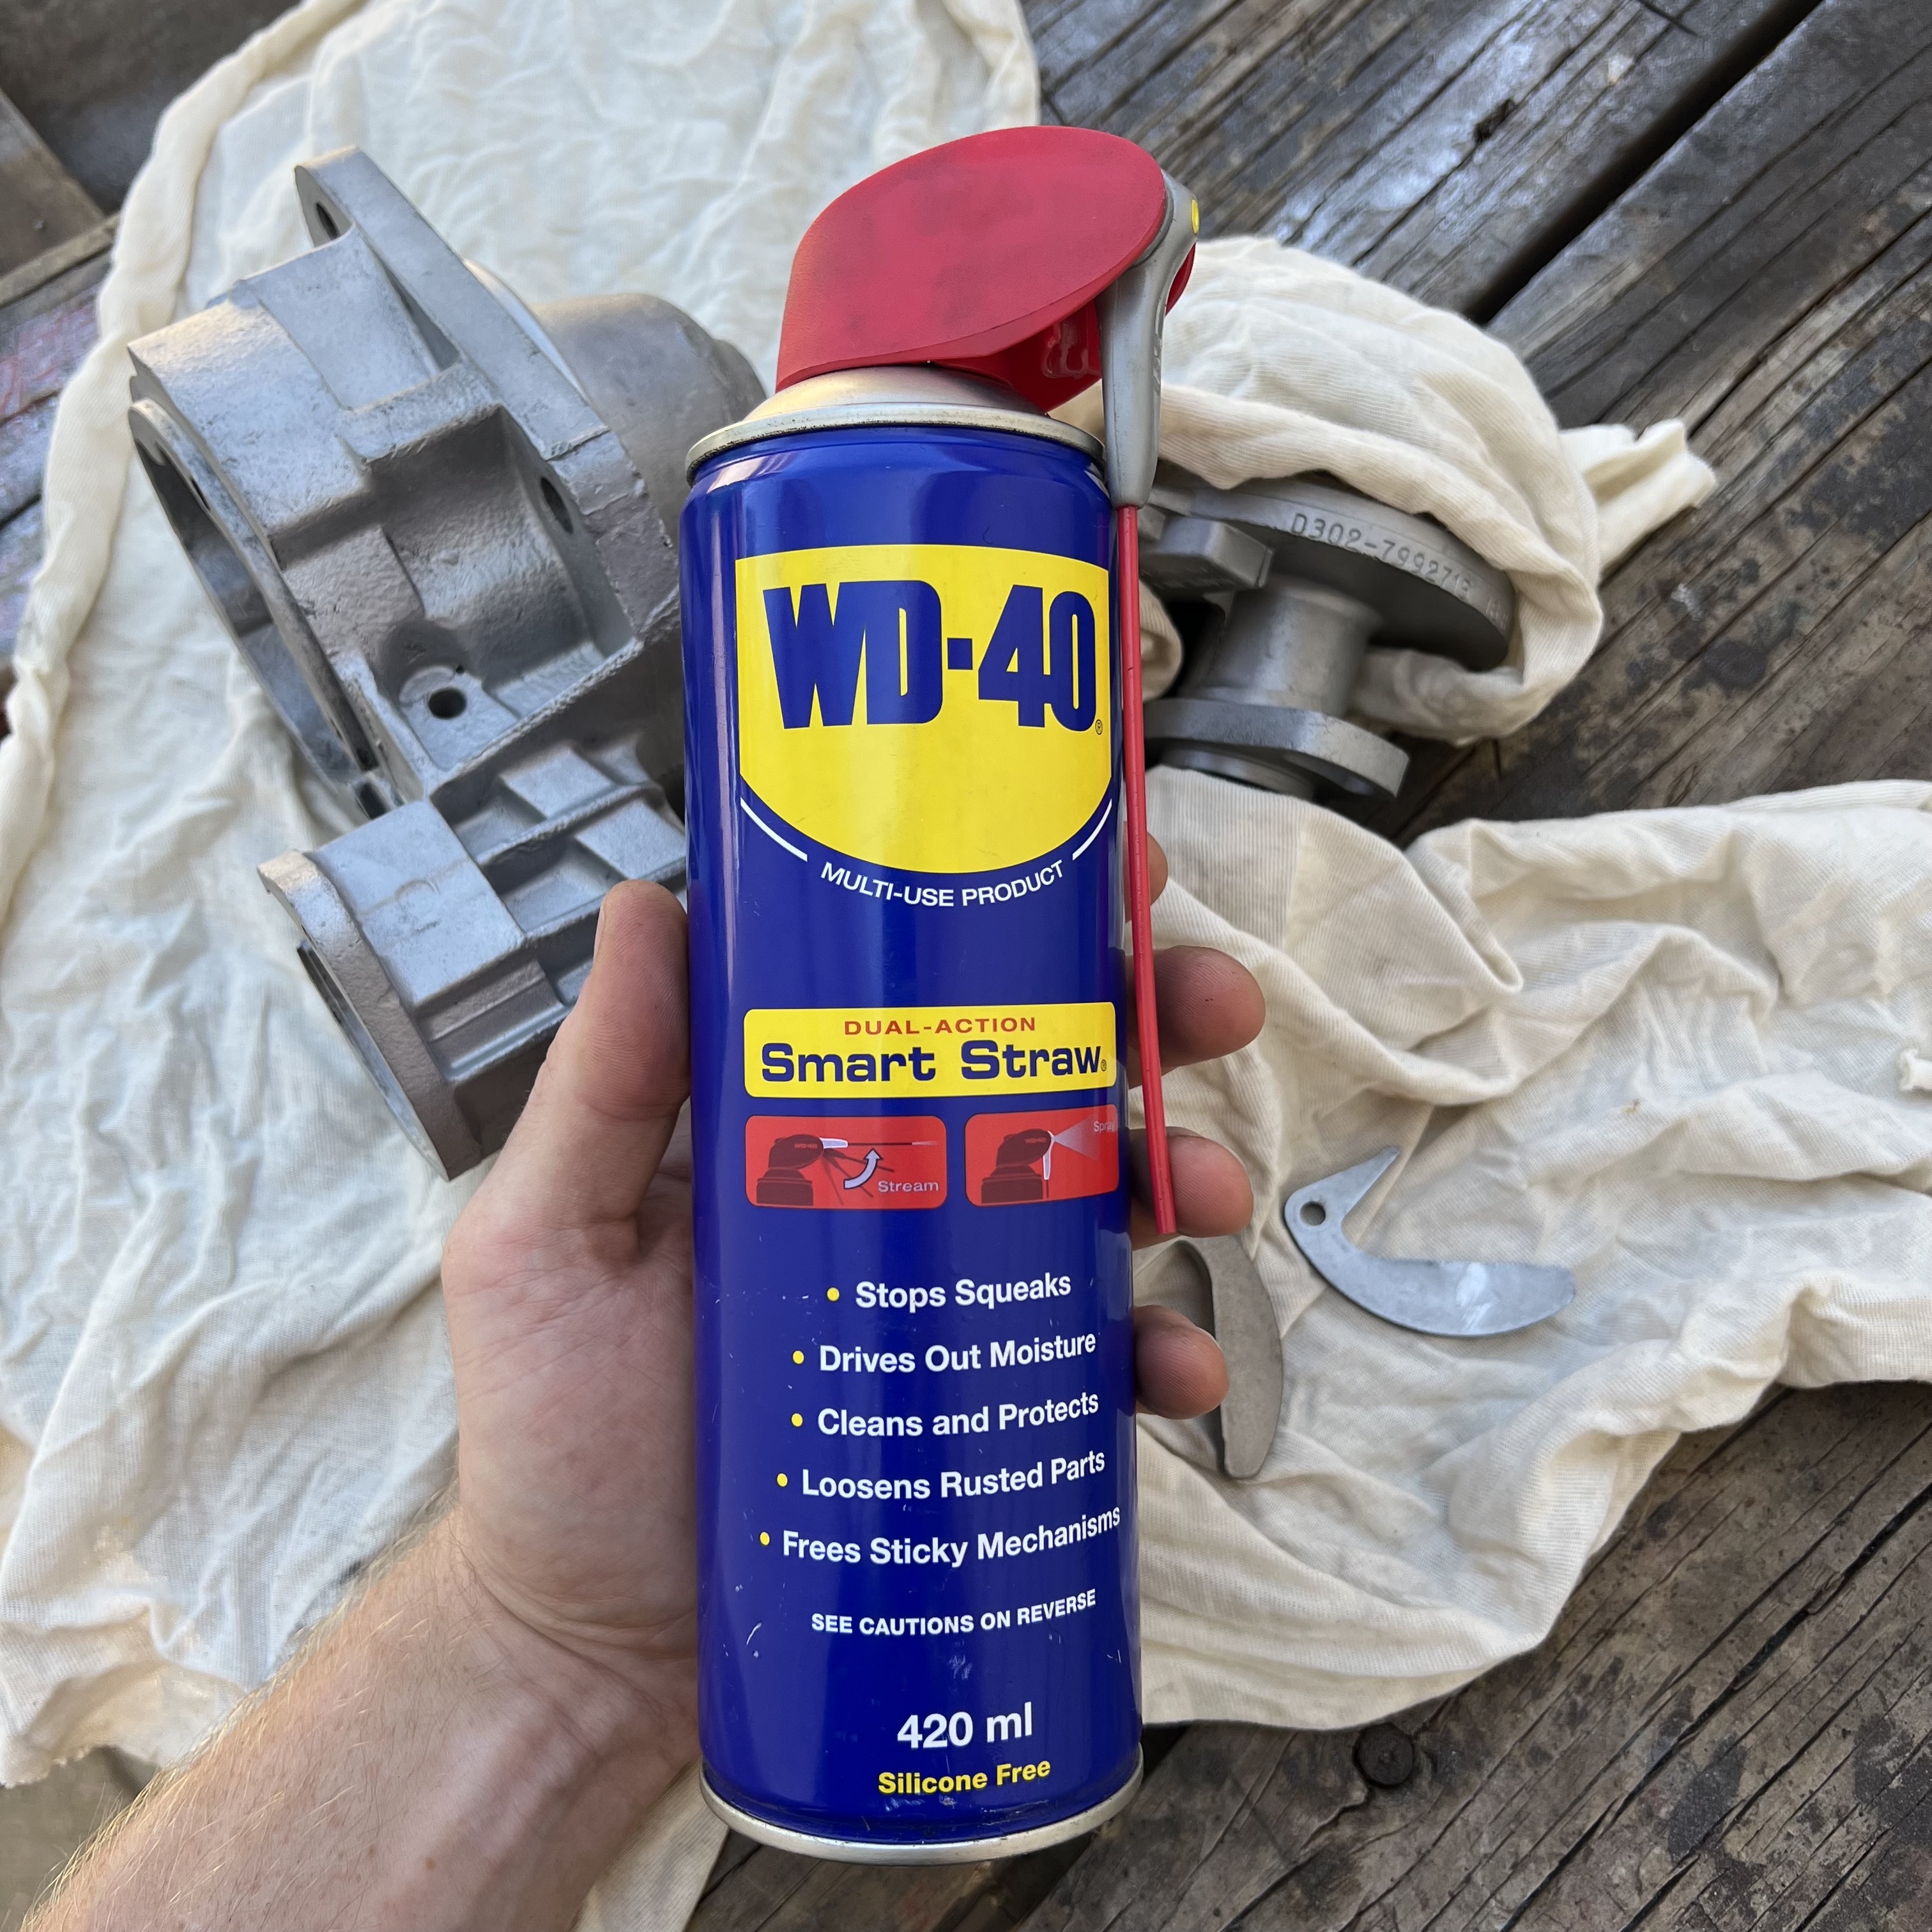
After disassembling and degreasing the Delco, I placed all its parts into a blasting cabinet to blast them clean with fine glass beads. After coming out, they needed to be washed clean once again, and then dried-off and lubricated for reassembly. This is where WD-40 comes in.
Any time I repair parts like this, I use a liberal application of WD-40 to drive out any remaining moisture from hard-to-reach places. Additionally, I use it to coat all the components, as it seals and protects the newly-blasted steel and aluminium from oxidation and rust, while the parts await fitment. Finally, the lubrication of the WD-40 helps keep the assembly process smooth. I personally prefer the Smart Straw cans, as I use them both for lubricating complex assemblies (like this Delco), and for protecting large areas (like my welding fixture table, on which this project is being reassembled).
Now, after fitting some brand-new replacement parts from the U.K., the Delco distributor is ready to provide a steady spark for another 50 years.
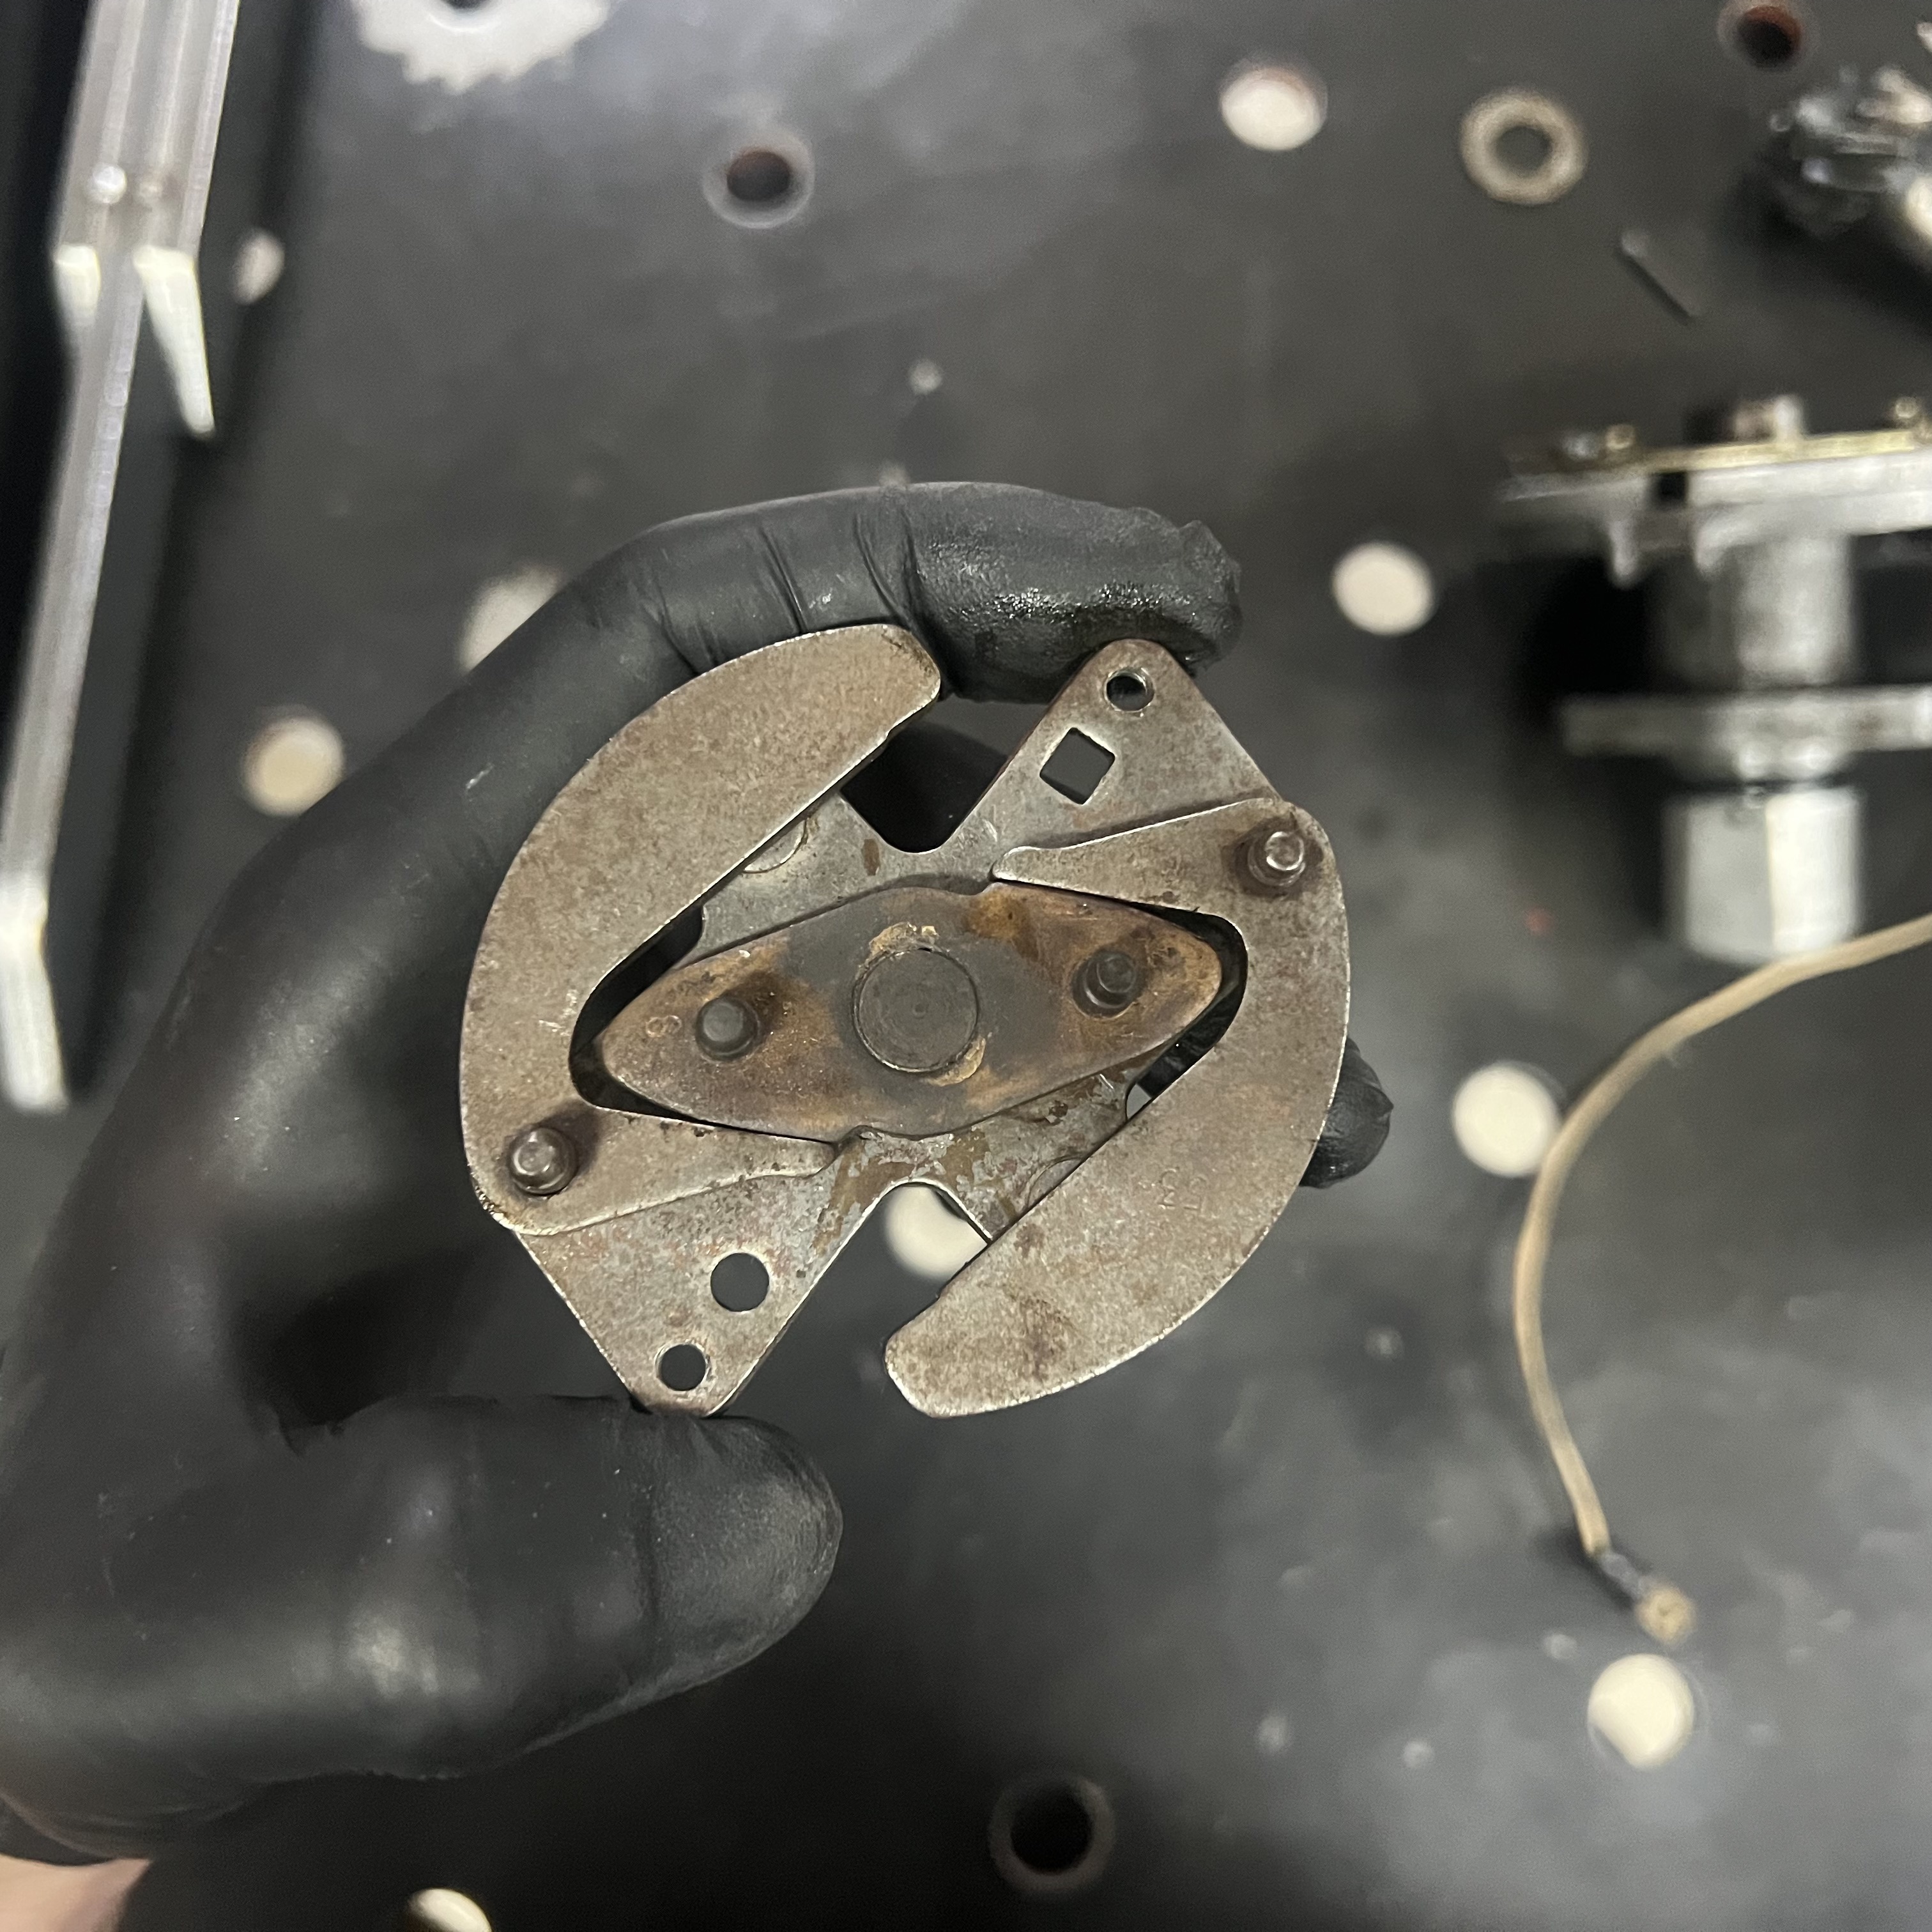
Step 1: Inspection

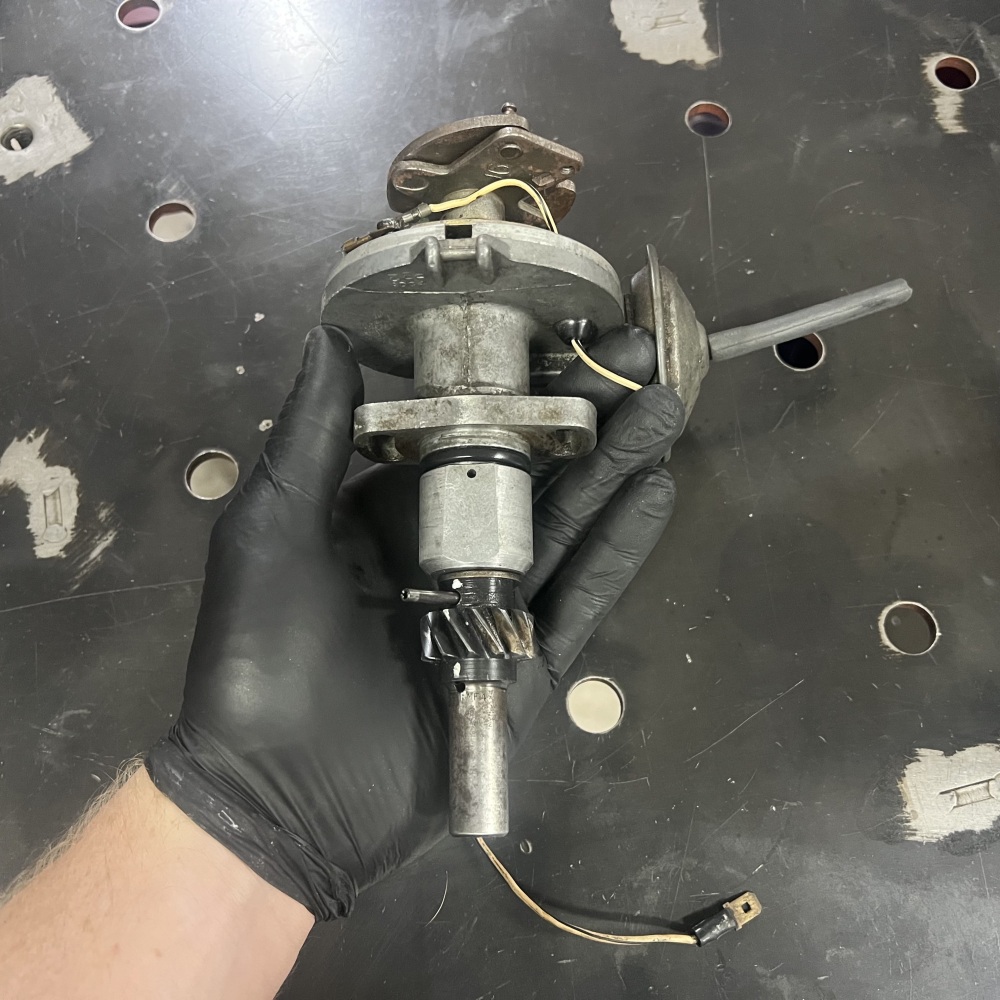

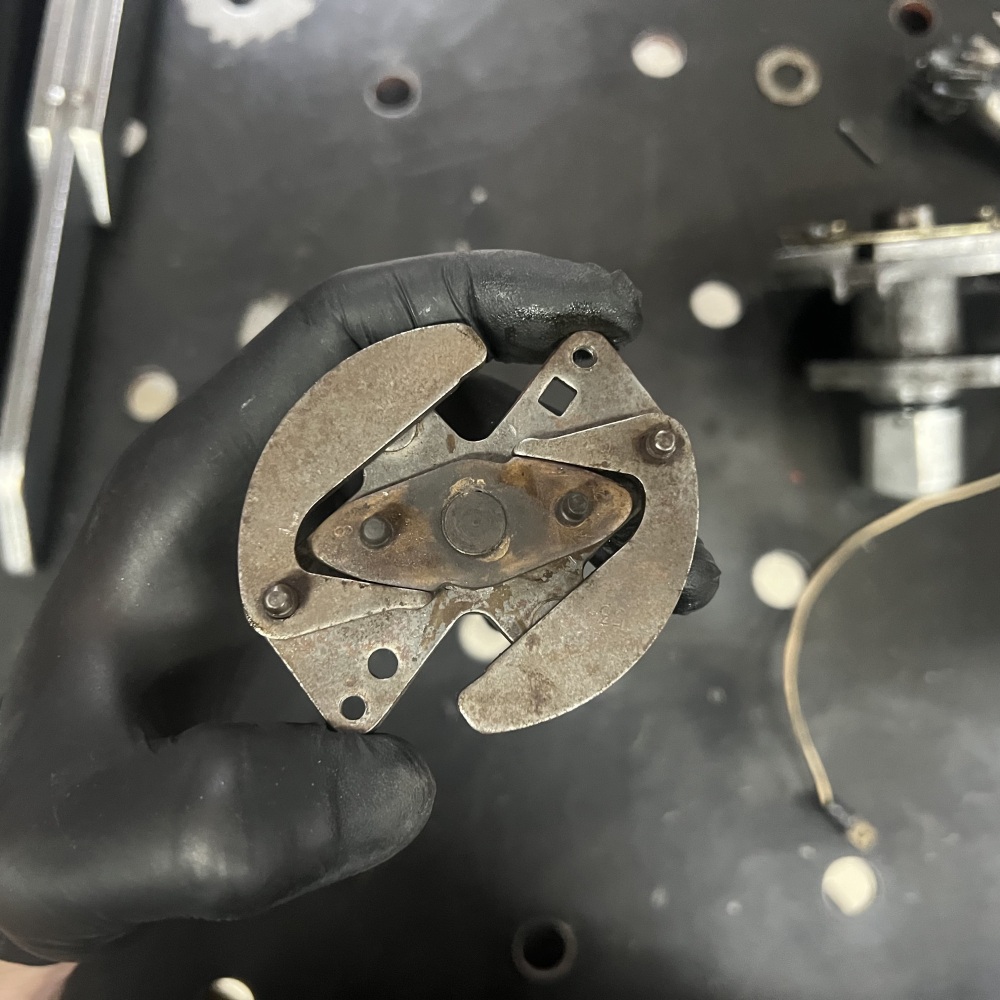
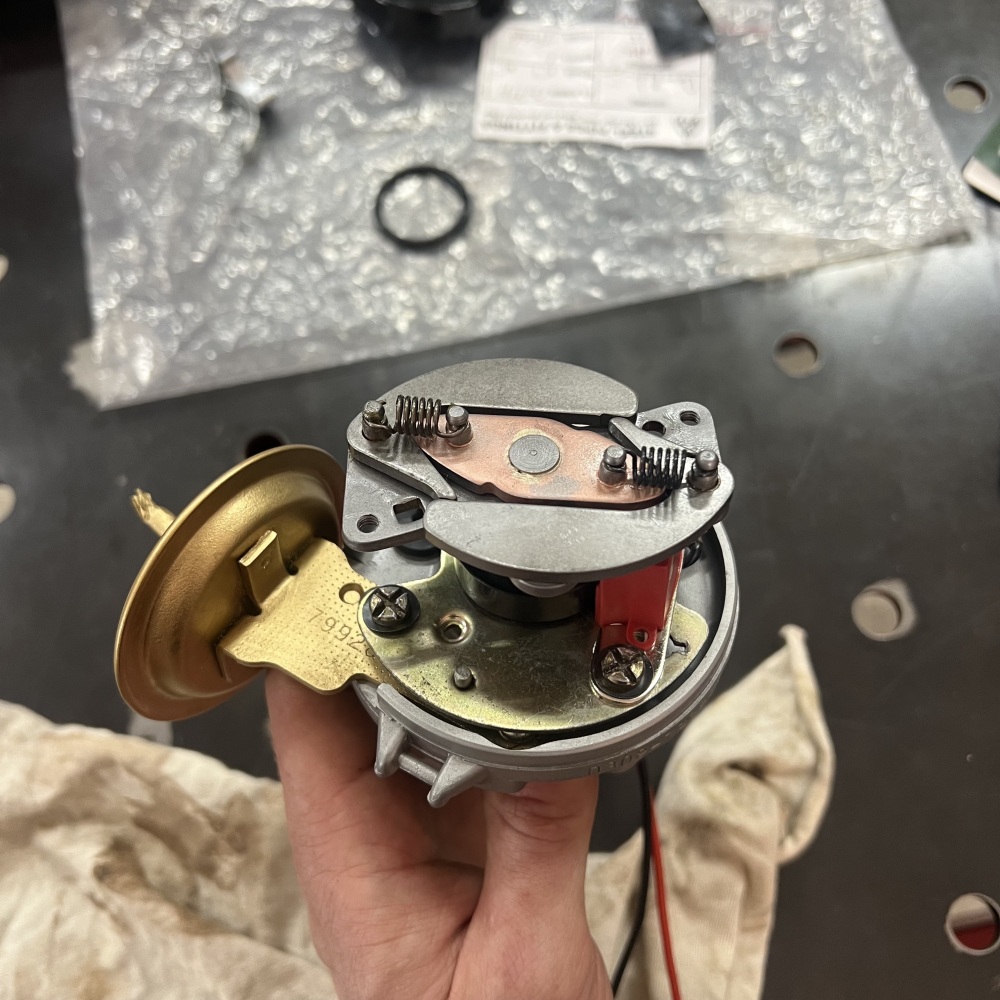
Here, you can see that the Delco arrived in my workshop missing a lot of parts. The most obvious ones are the rotor - a large black plastic part that is meant to be on top of all of this - and the distributor cap, which covers everything up and provides places to plug in your spark plug wires. There are no springs on the advance weights, which alter the timing of the spark plugs' firing throughout the rev range of the engine; the clips that hold down the distributor's cap are missing; and there are no contact points, which 'make' and 'break' the electrical connection that gives each spark plug the signal to fire. It looks like a previous owner tried to disassemble this before, but had to stop the process halfway.
Step 2: Disassembly

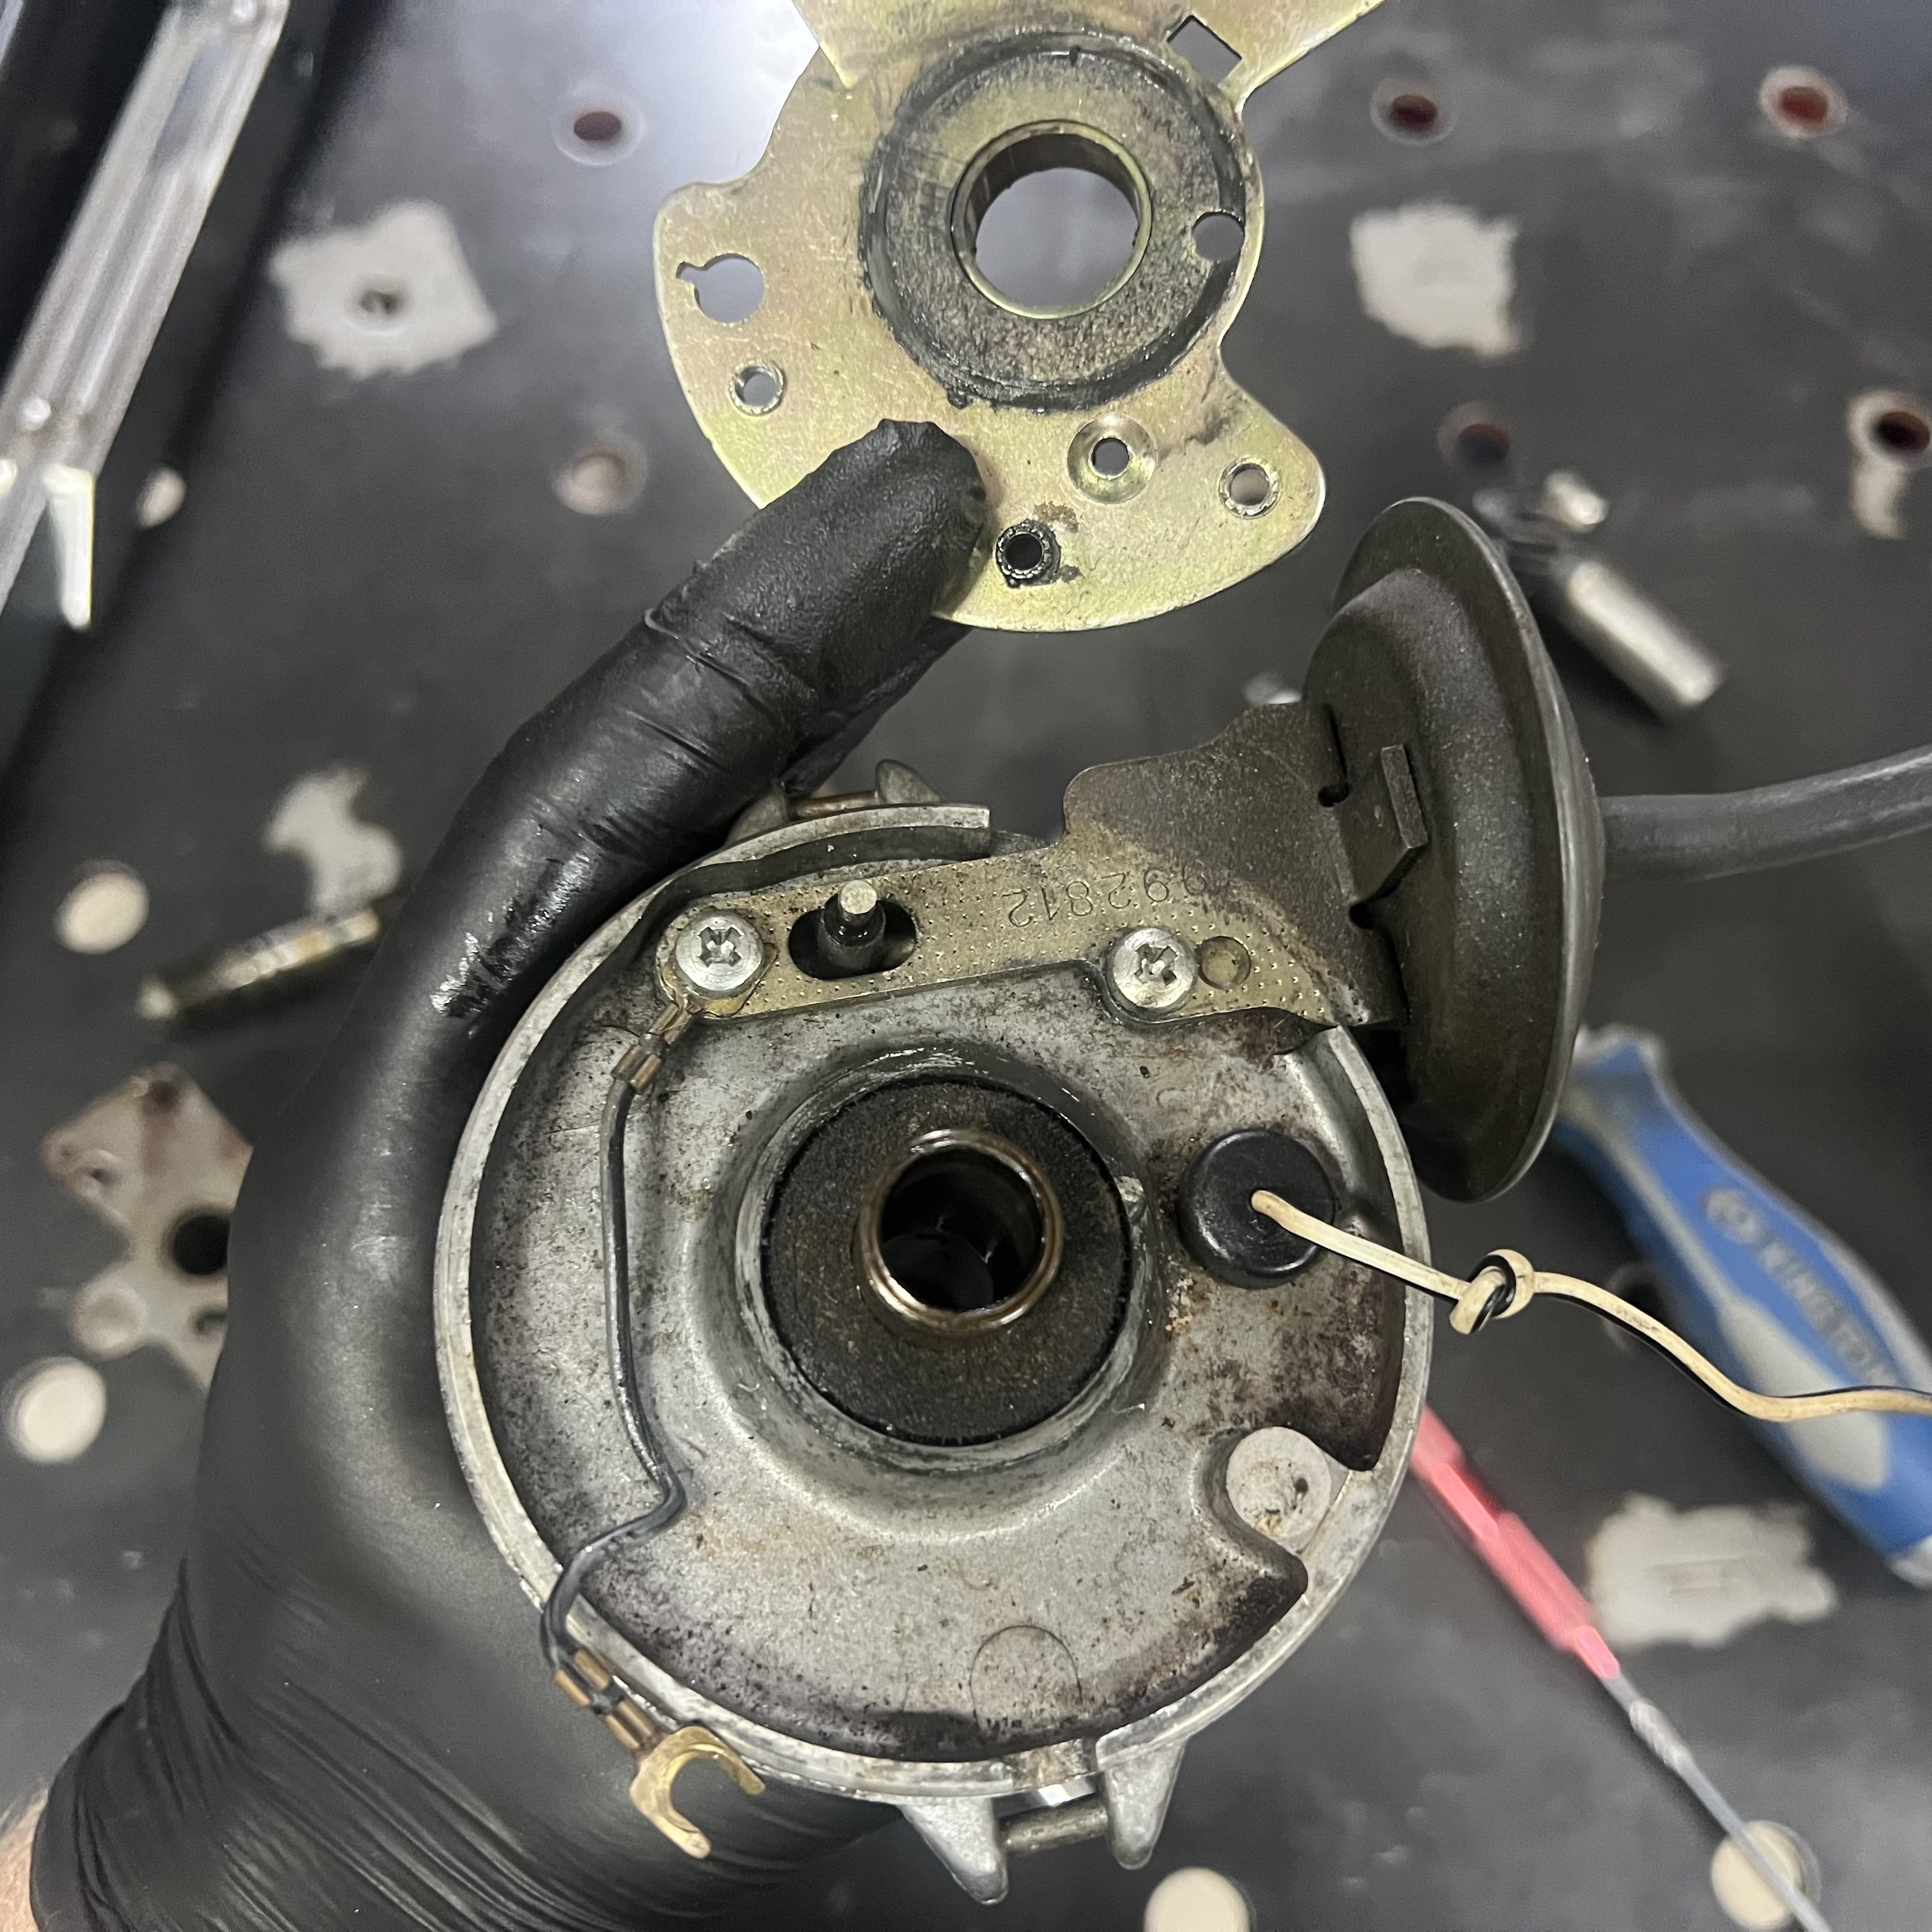

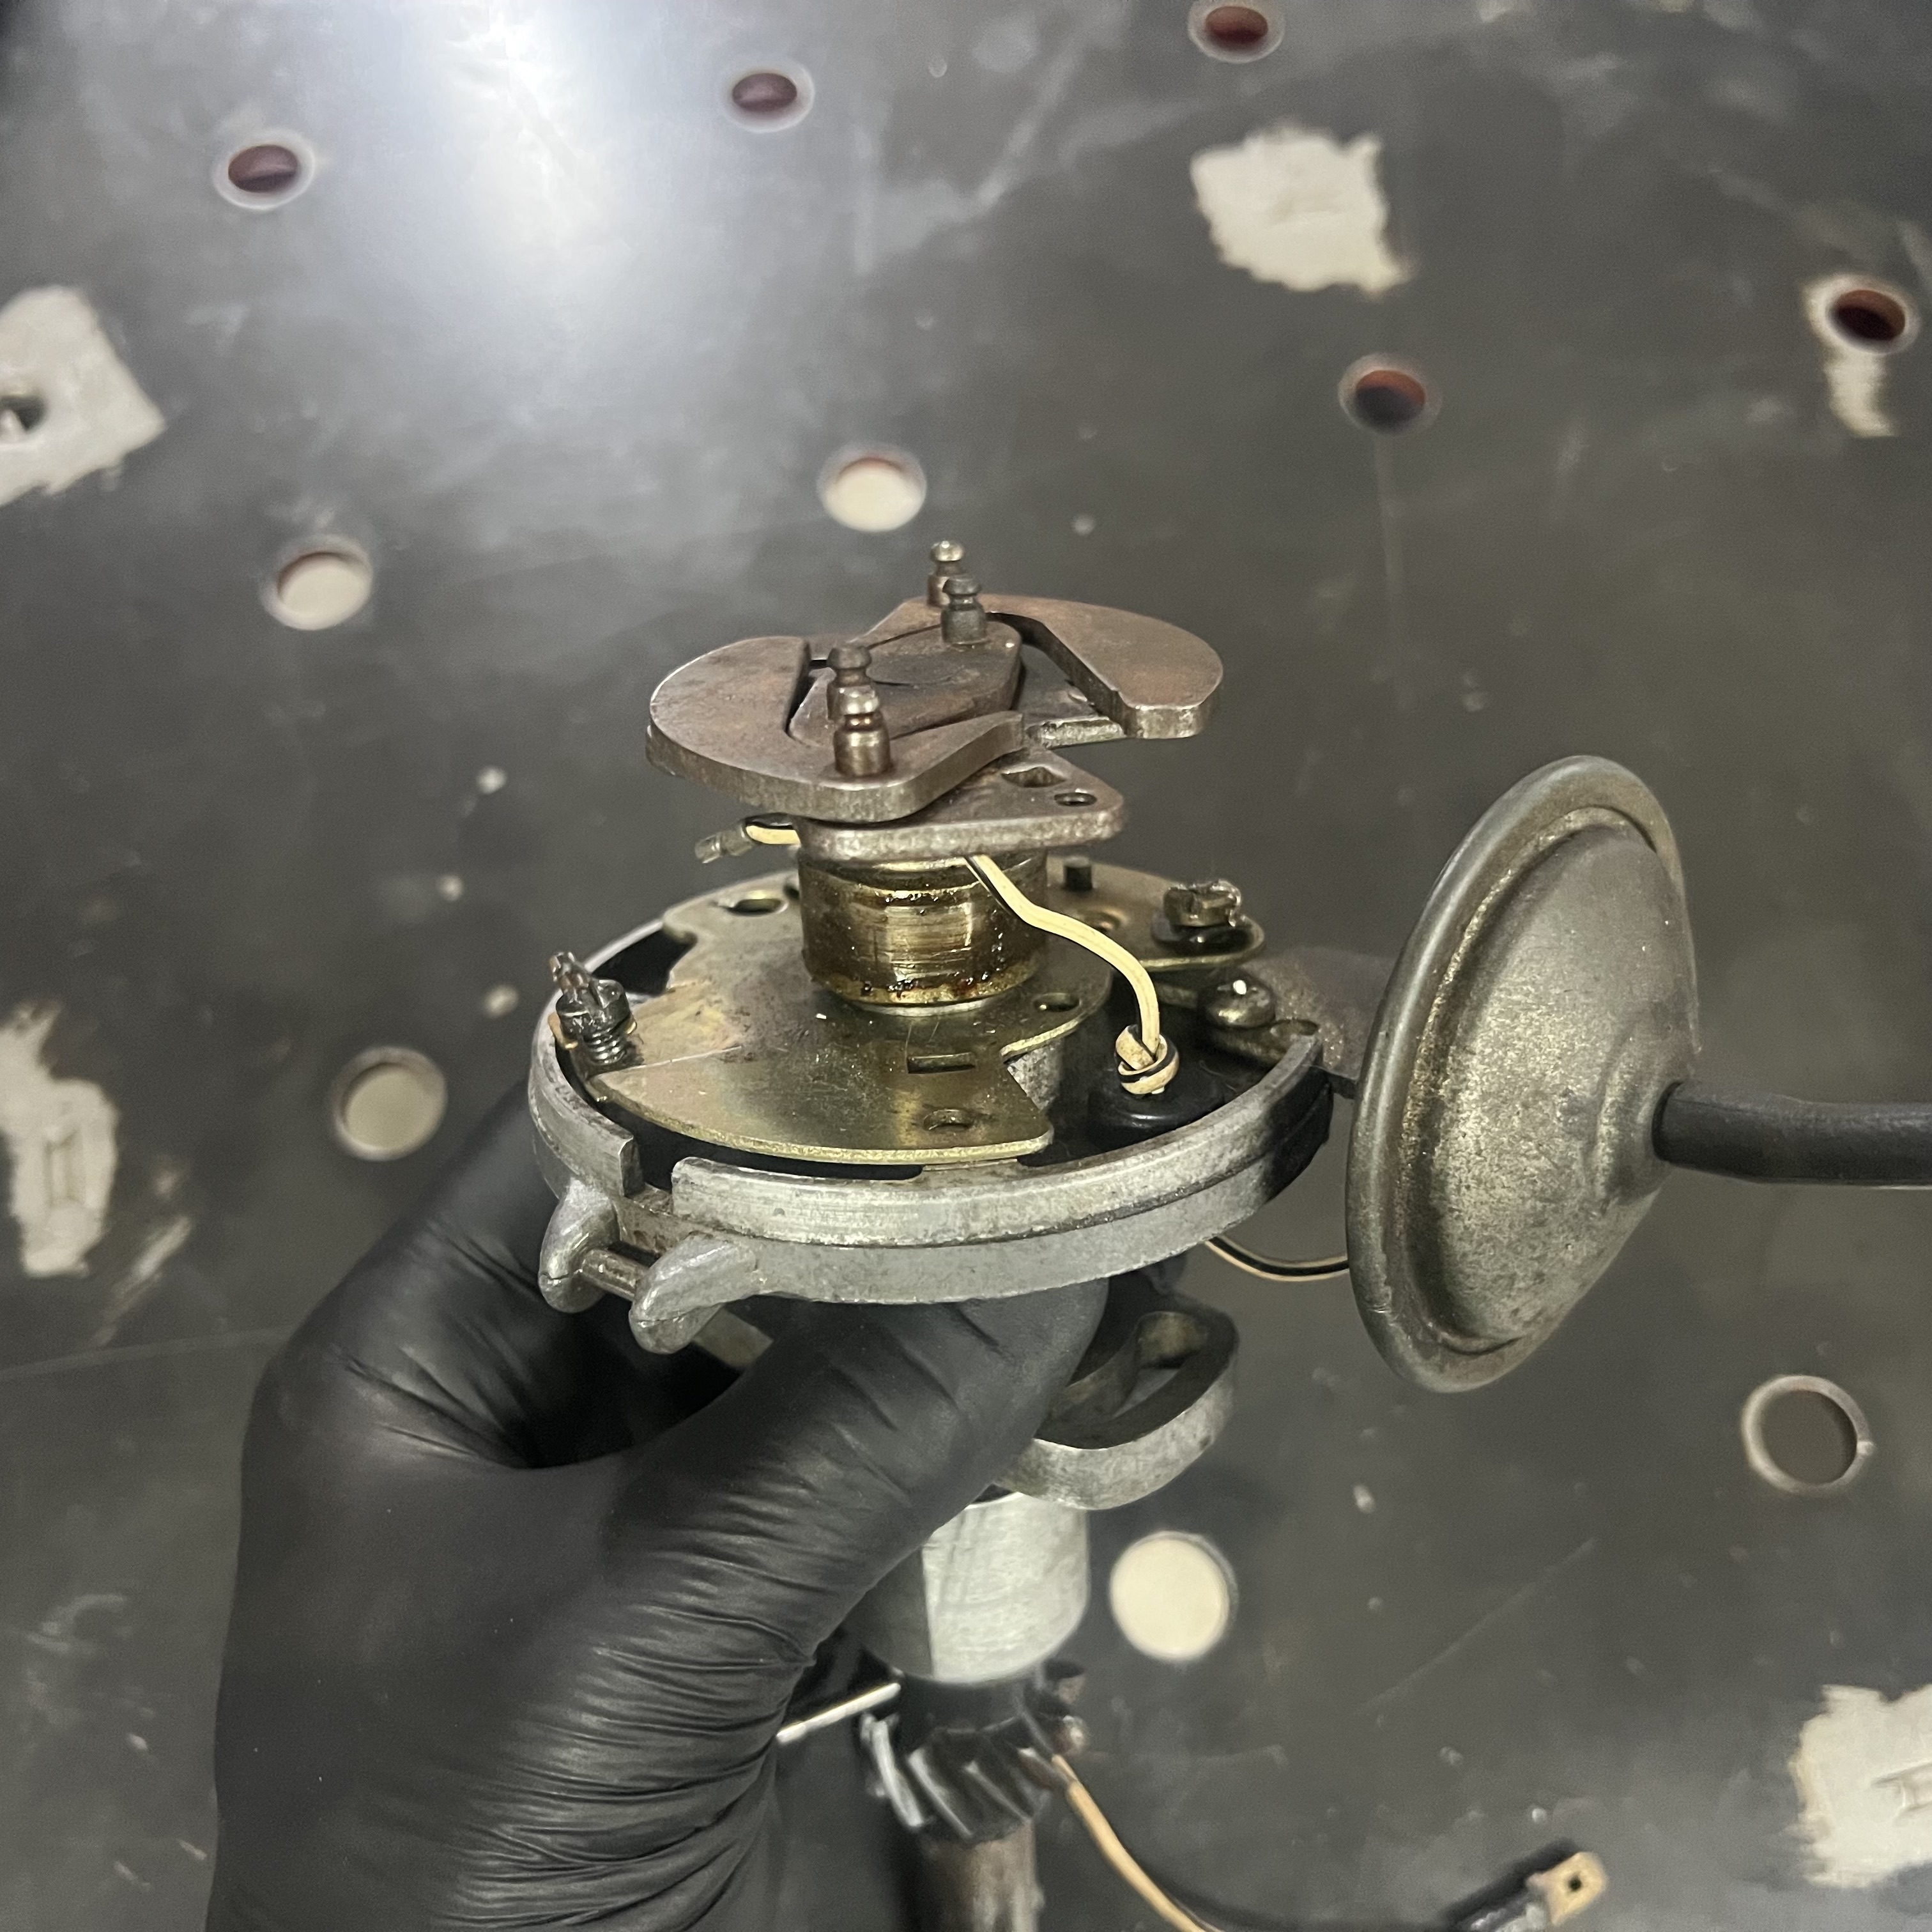
Taking the Delco apart revealed decades of dirt and grime. The bare steel components, which had never been adequately protected, were rusting. The old wiring was baked with years of engine heat, and felt like it could break apart at any moment. (In the background, you can see that I am doing this on a steel table. This is my welding fixture table, which I wipe down every day with WD-40. This keeps rust away, and cleans off all the dirt and grime from each day's work.)
Step 3: Cleaning


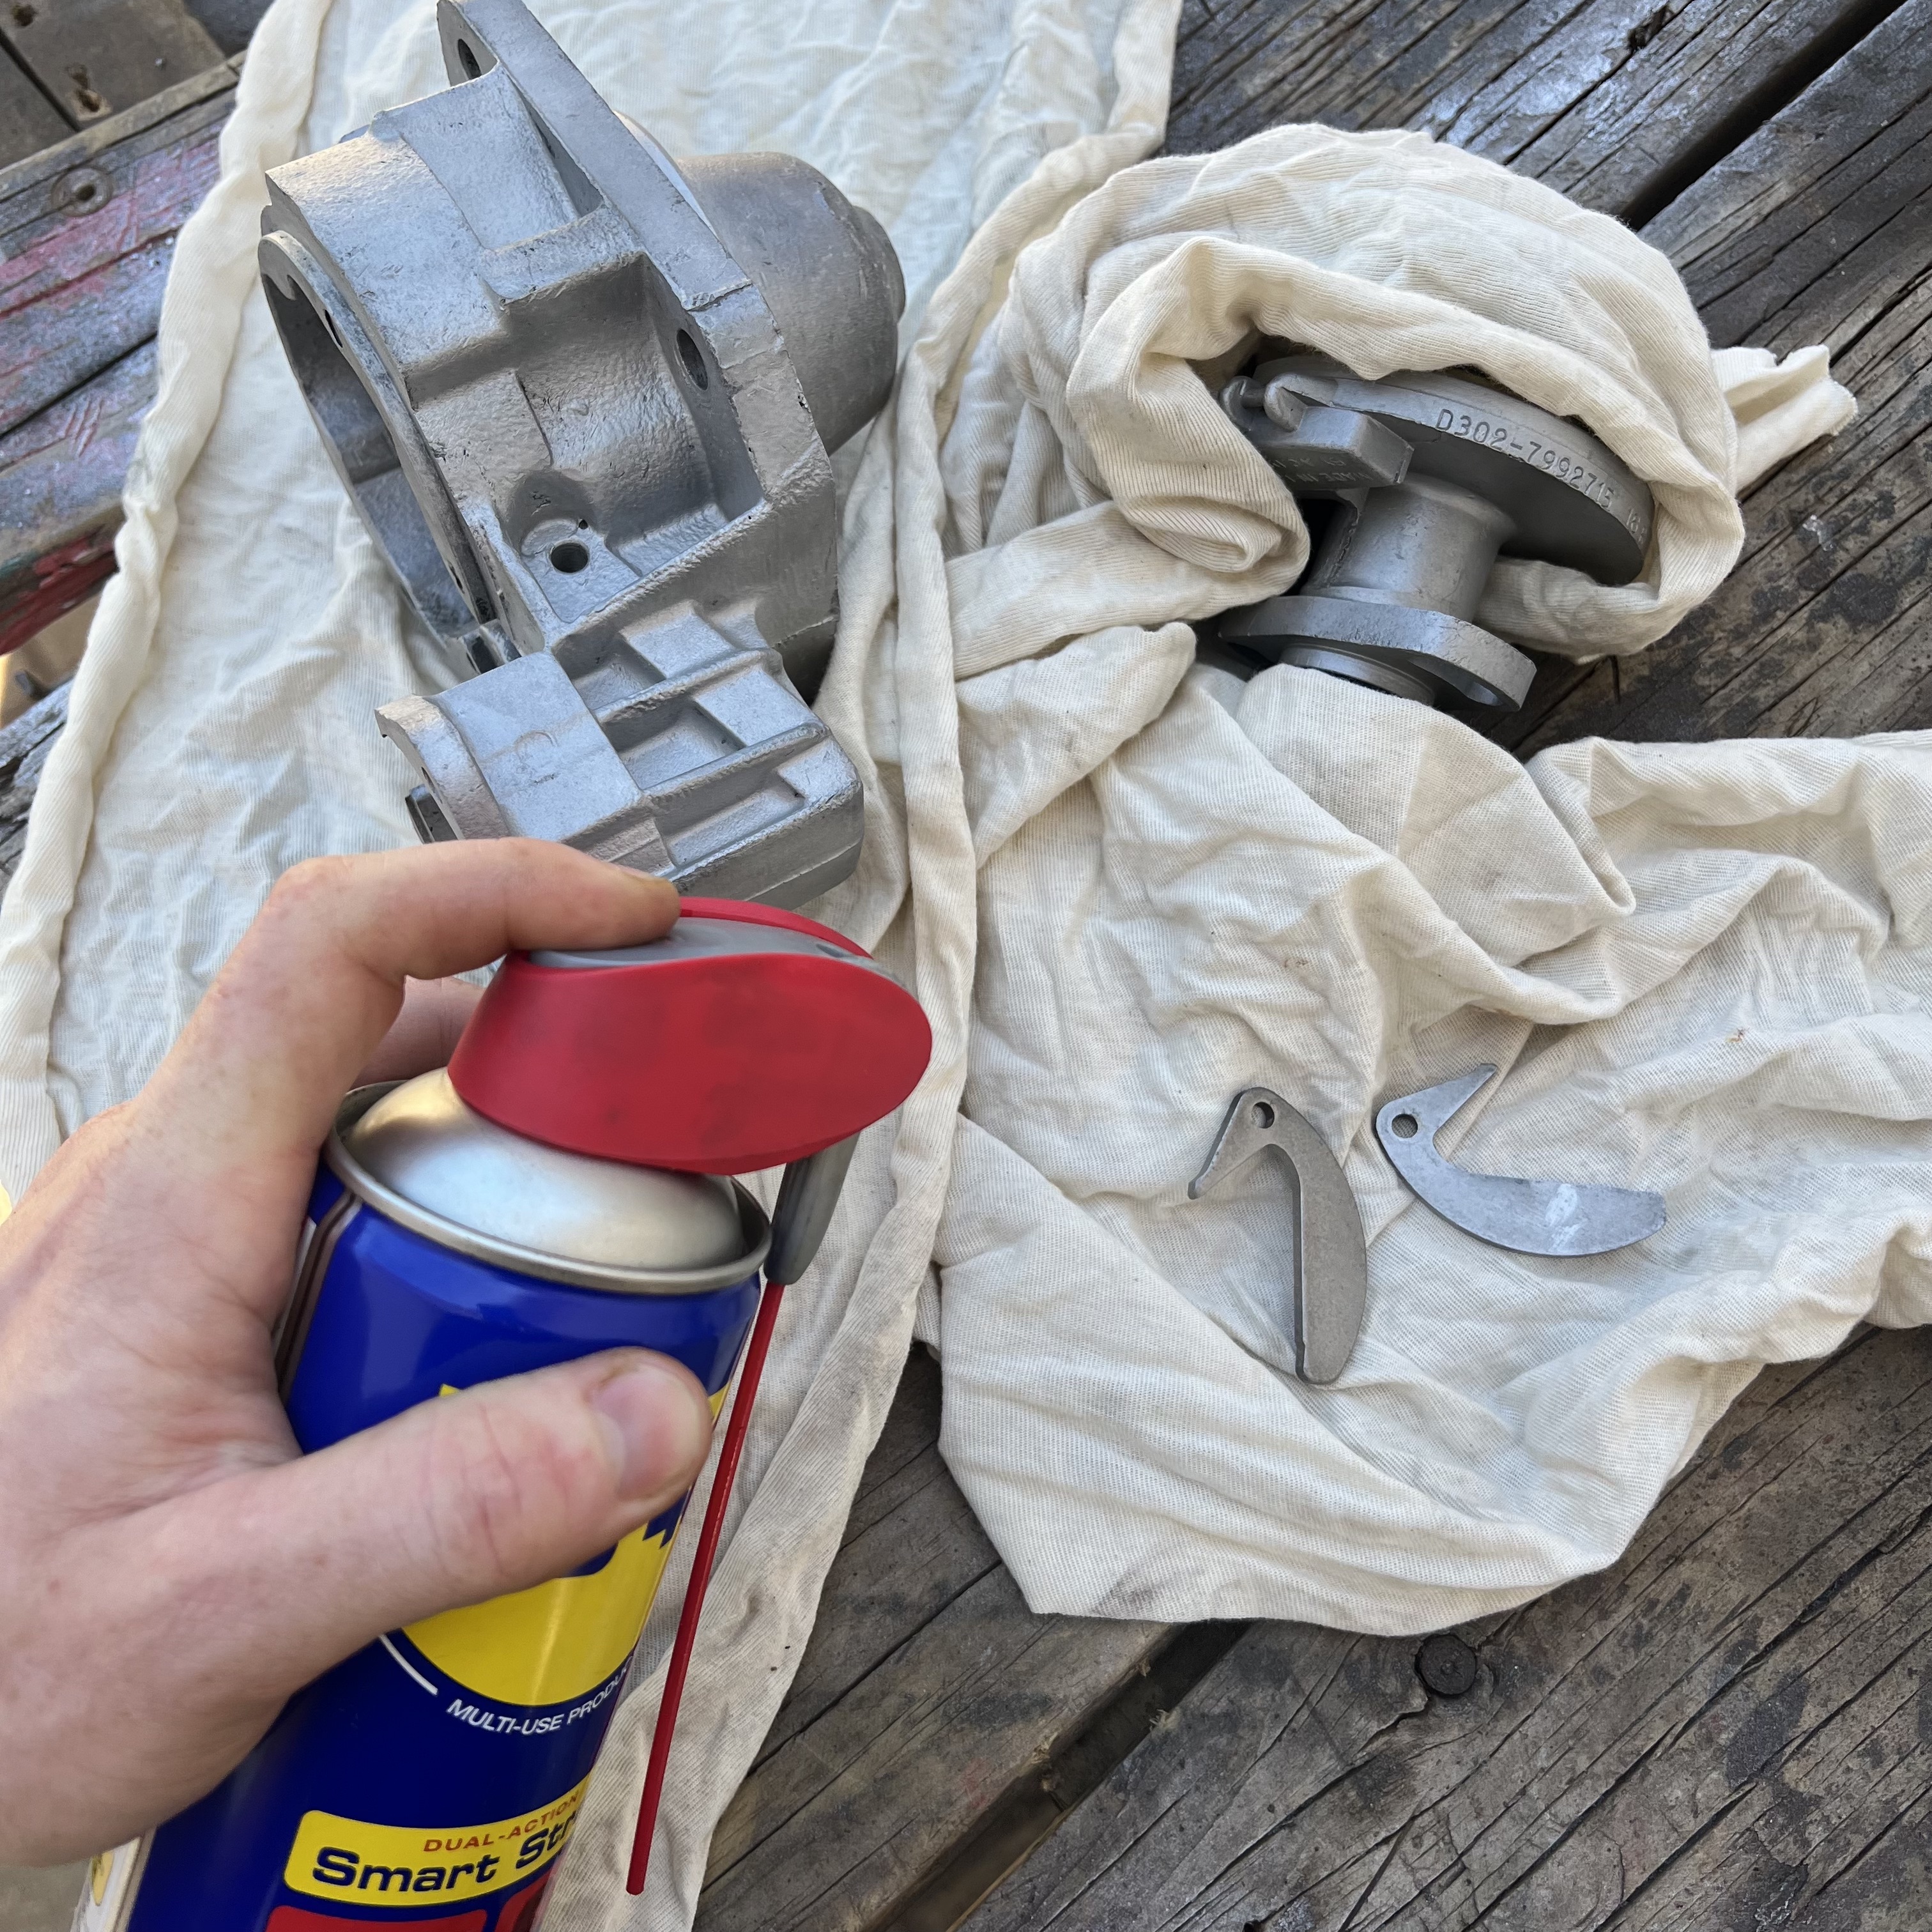
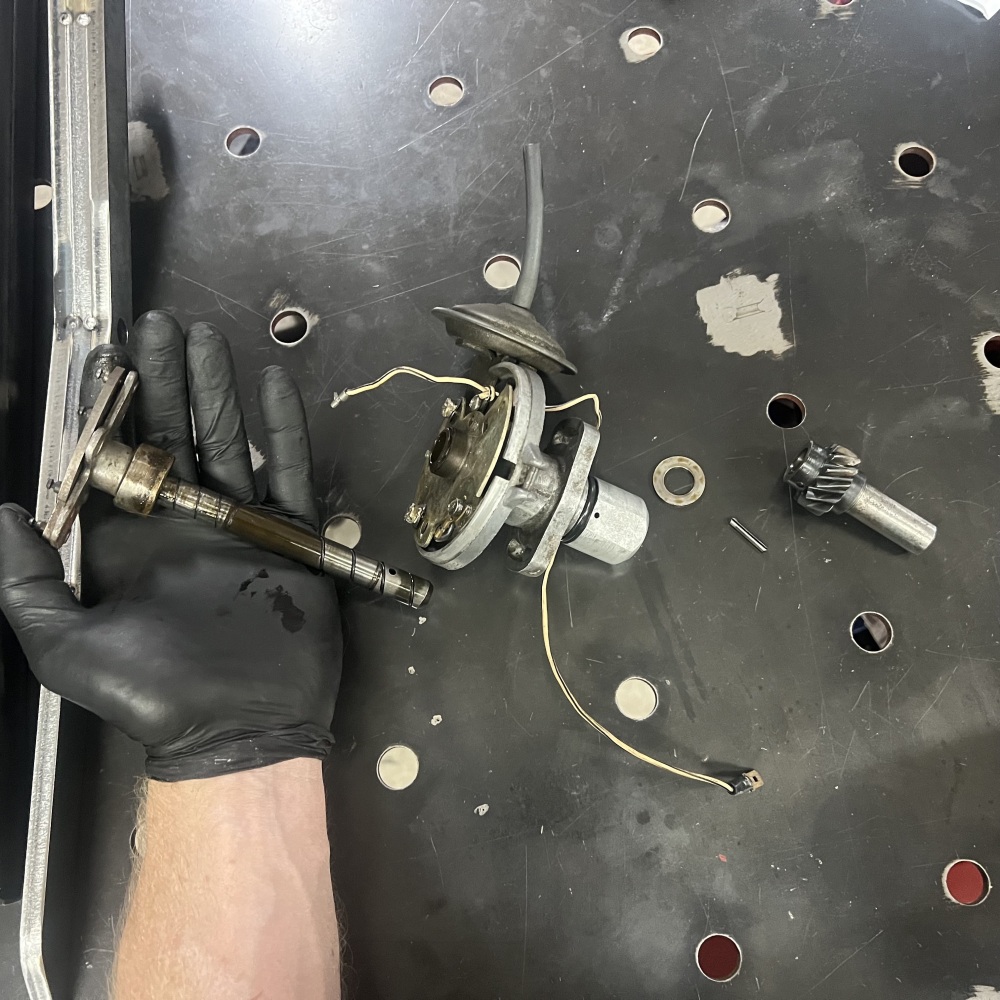
I washed the parts in a strong degreaser to remove all the oil and dirt, and then loaded them into a blasting cabinet. Instead of roughly sandblasting these complex, delicate components, I instead used fine glass beads as a blasting media. This very gently cleaned up the oxidation from the aluminium castings, and removed the rust off of the steel parts. Once that was done, I gave them another rinse to remove any stray glass dust left behind. Then, I coated everything in WD-40, paying special attention to any places where moisture might be hiding, and masking off any areas that needed to stay free of oil by placing a rag over them. (Ignore the starter motor housing in the background; that was another project for this car!)
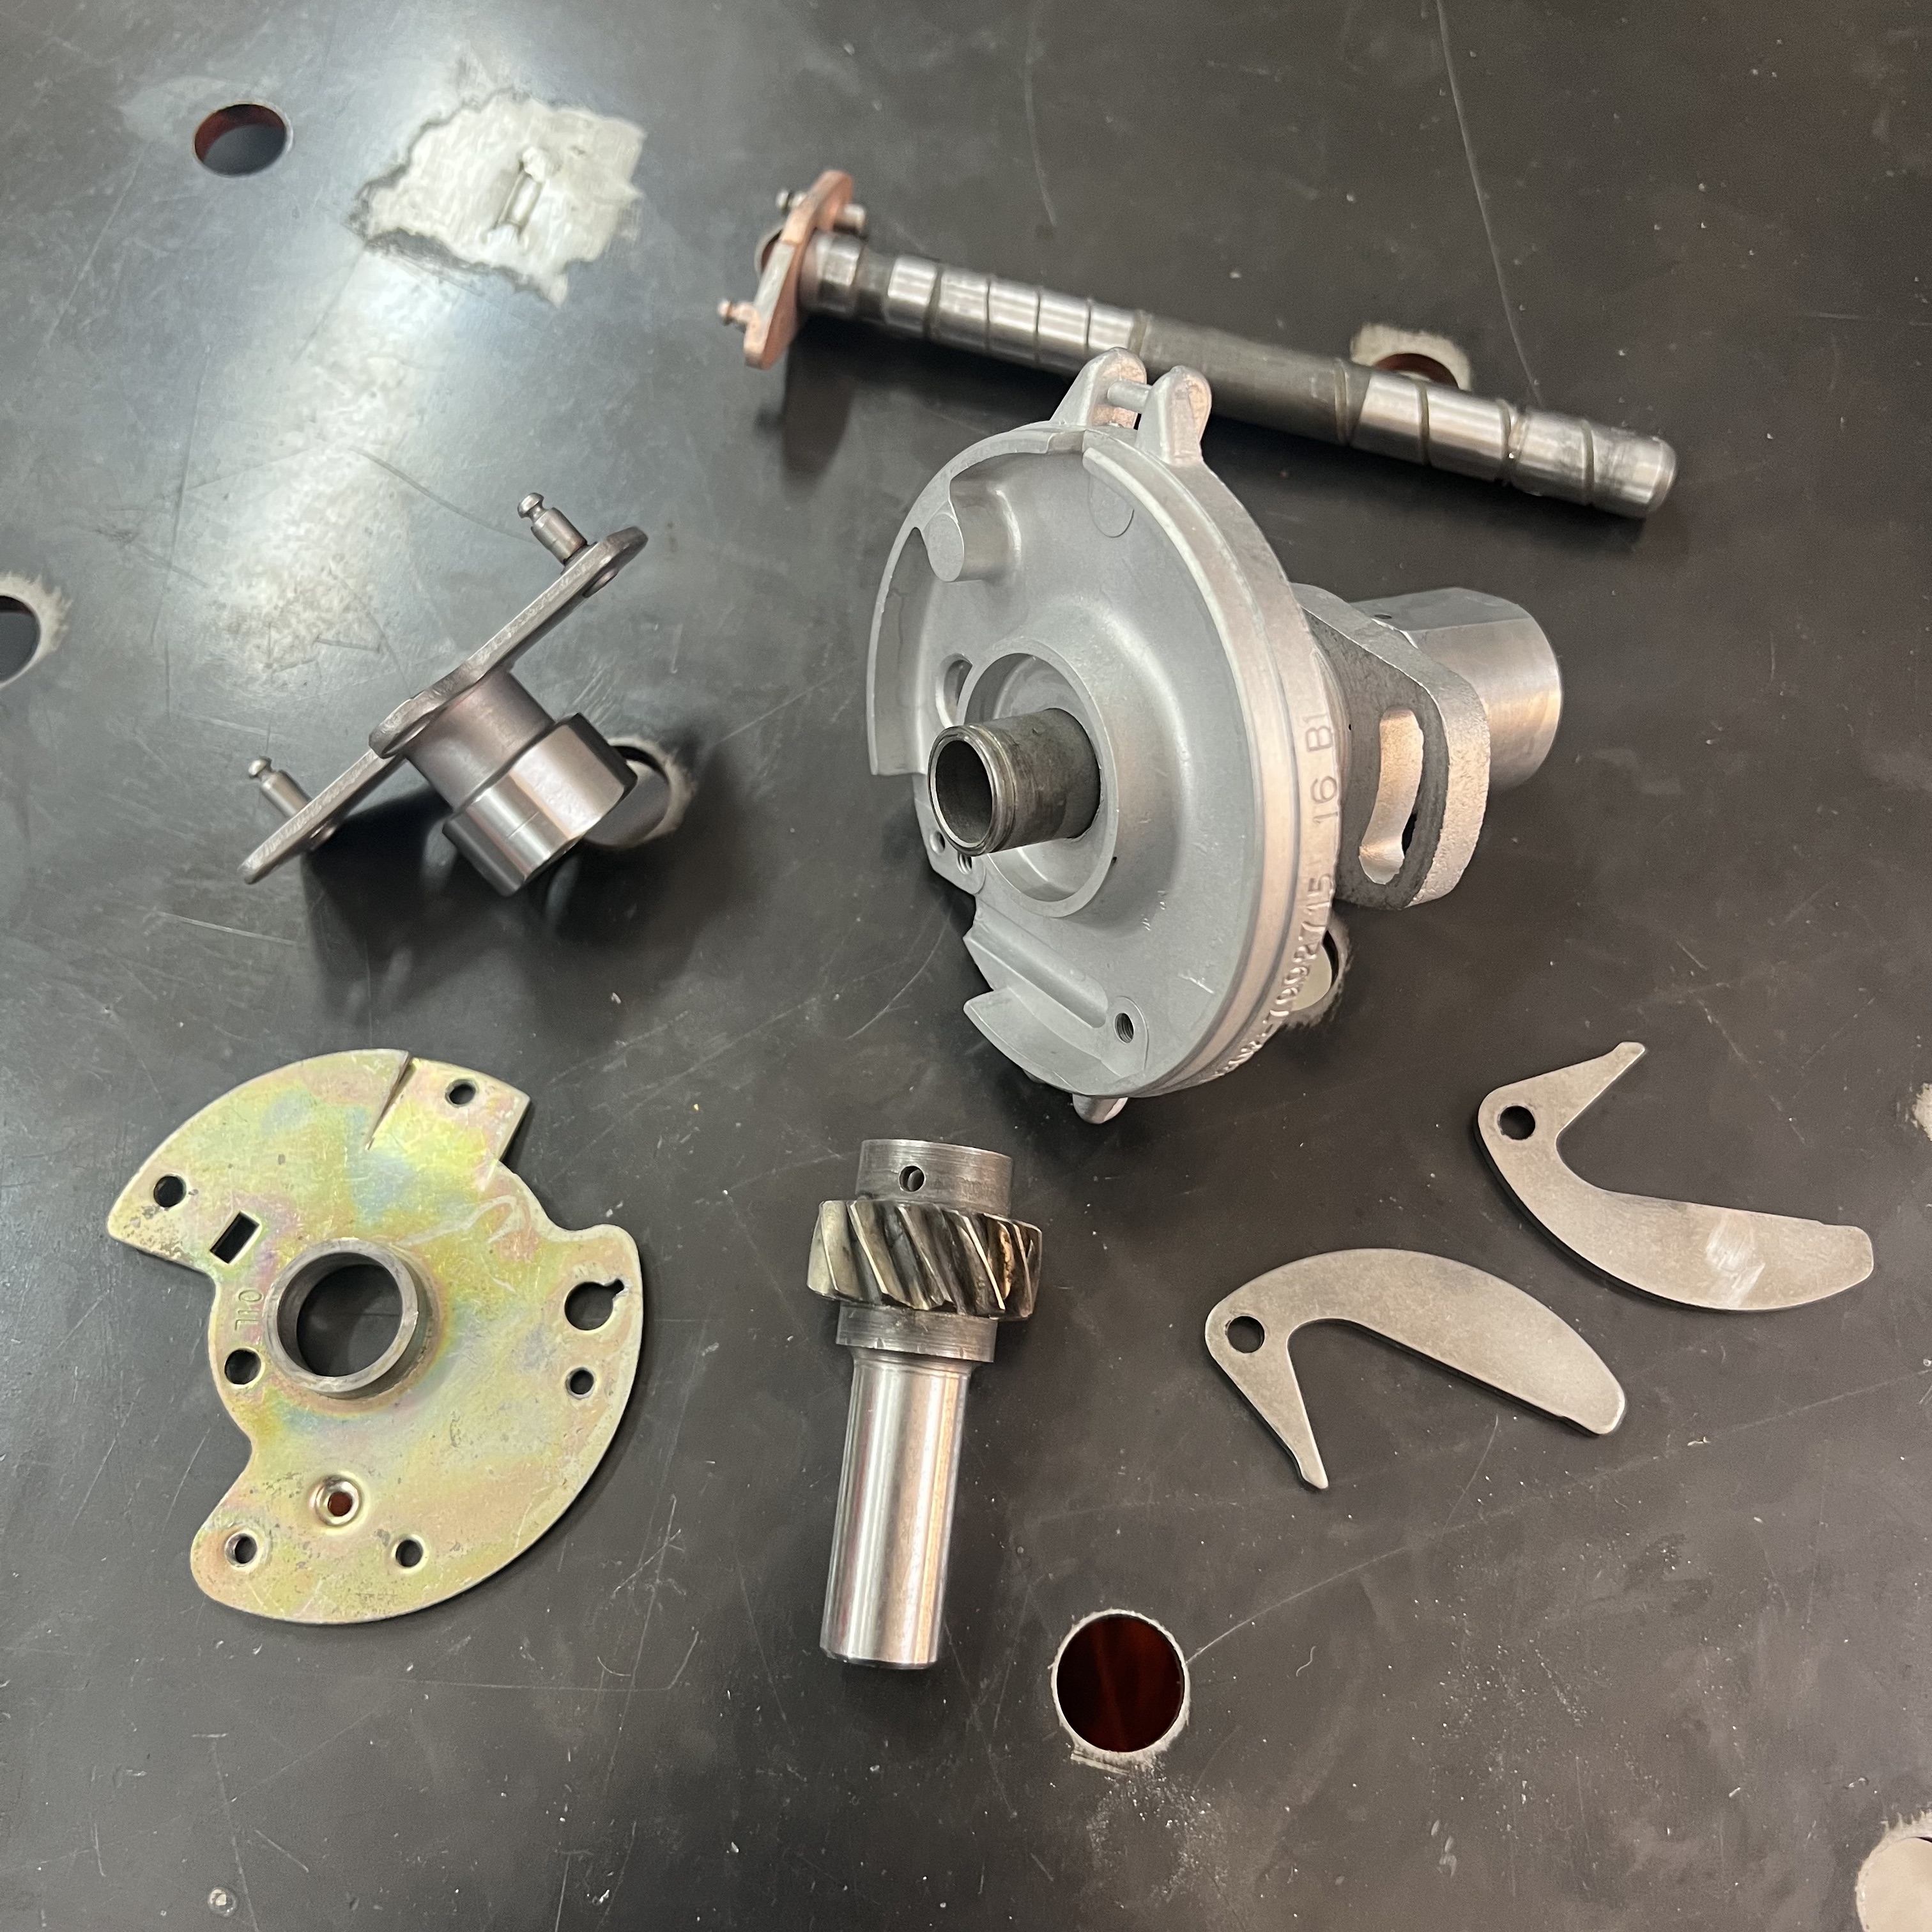
Step 4: Reassembly


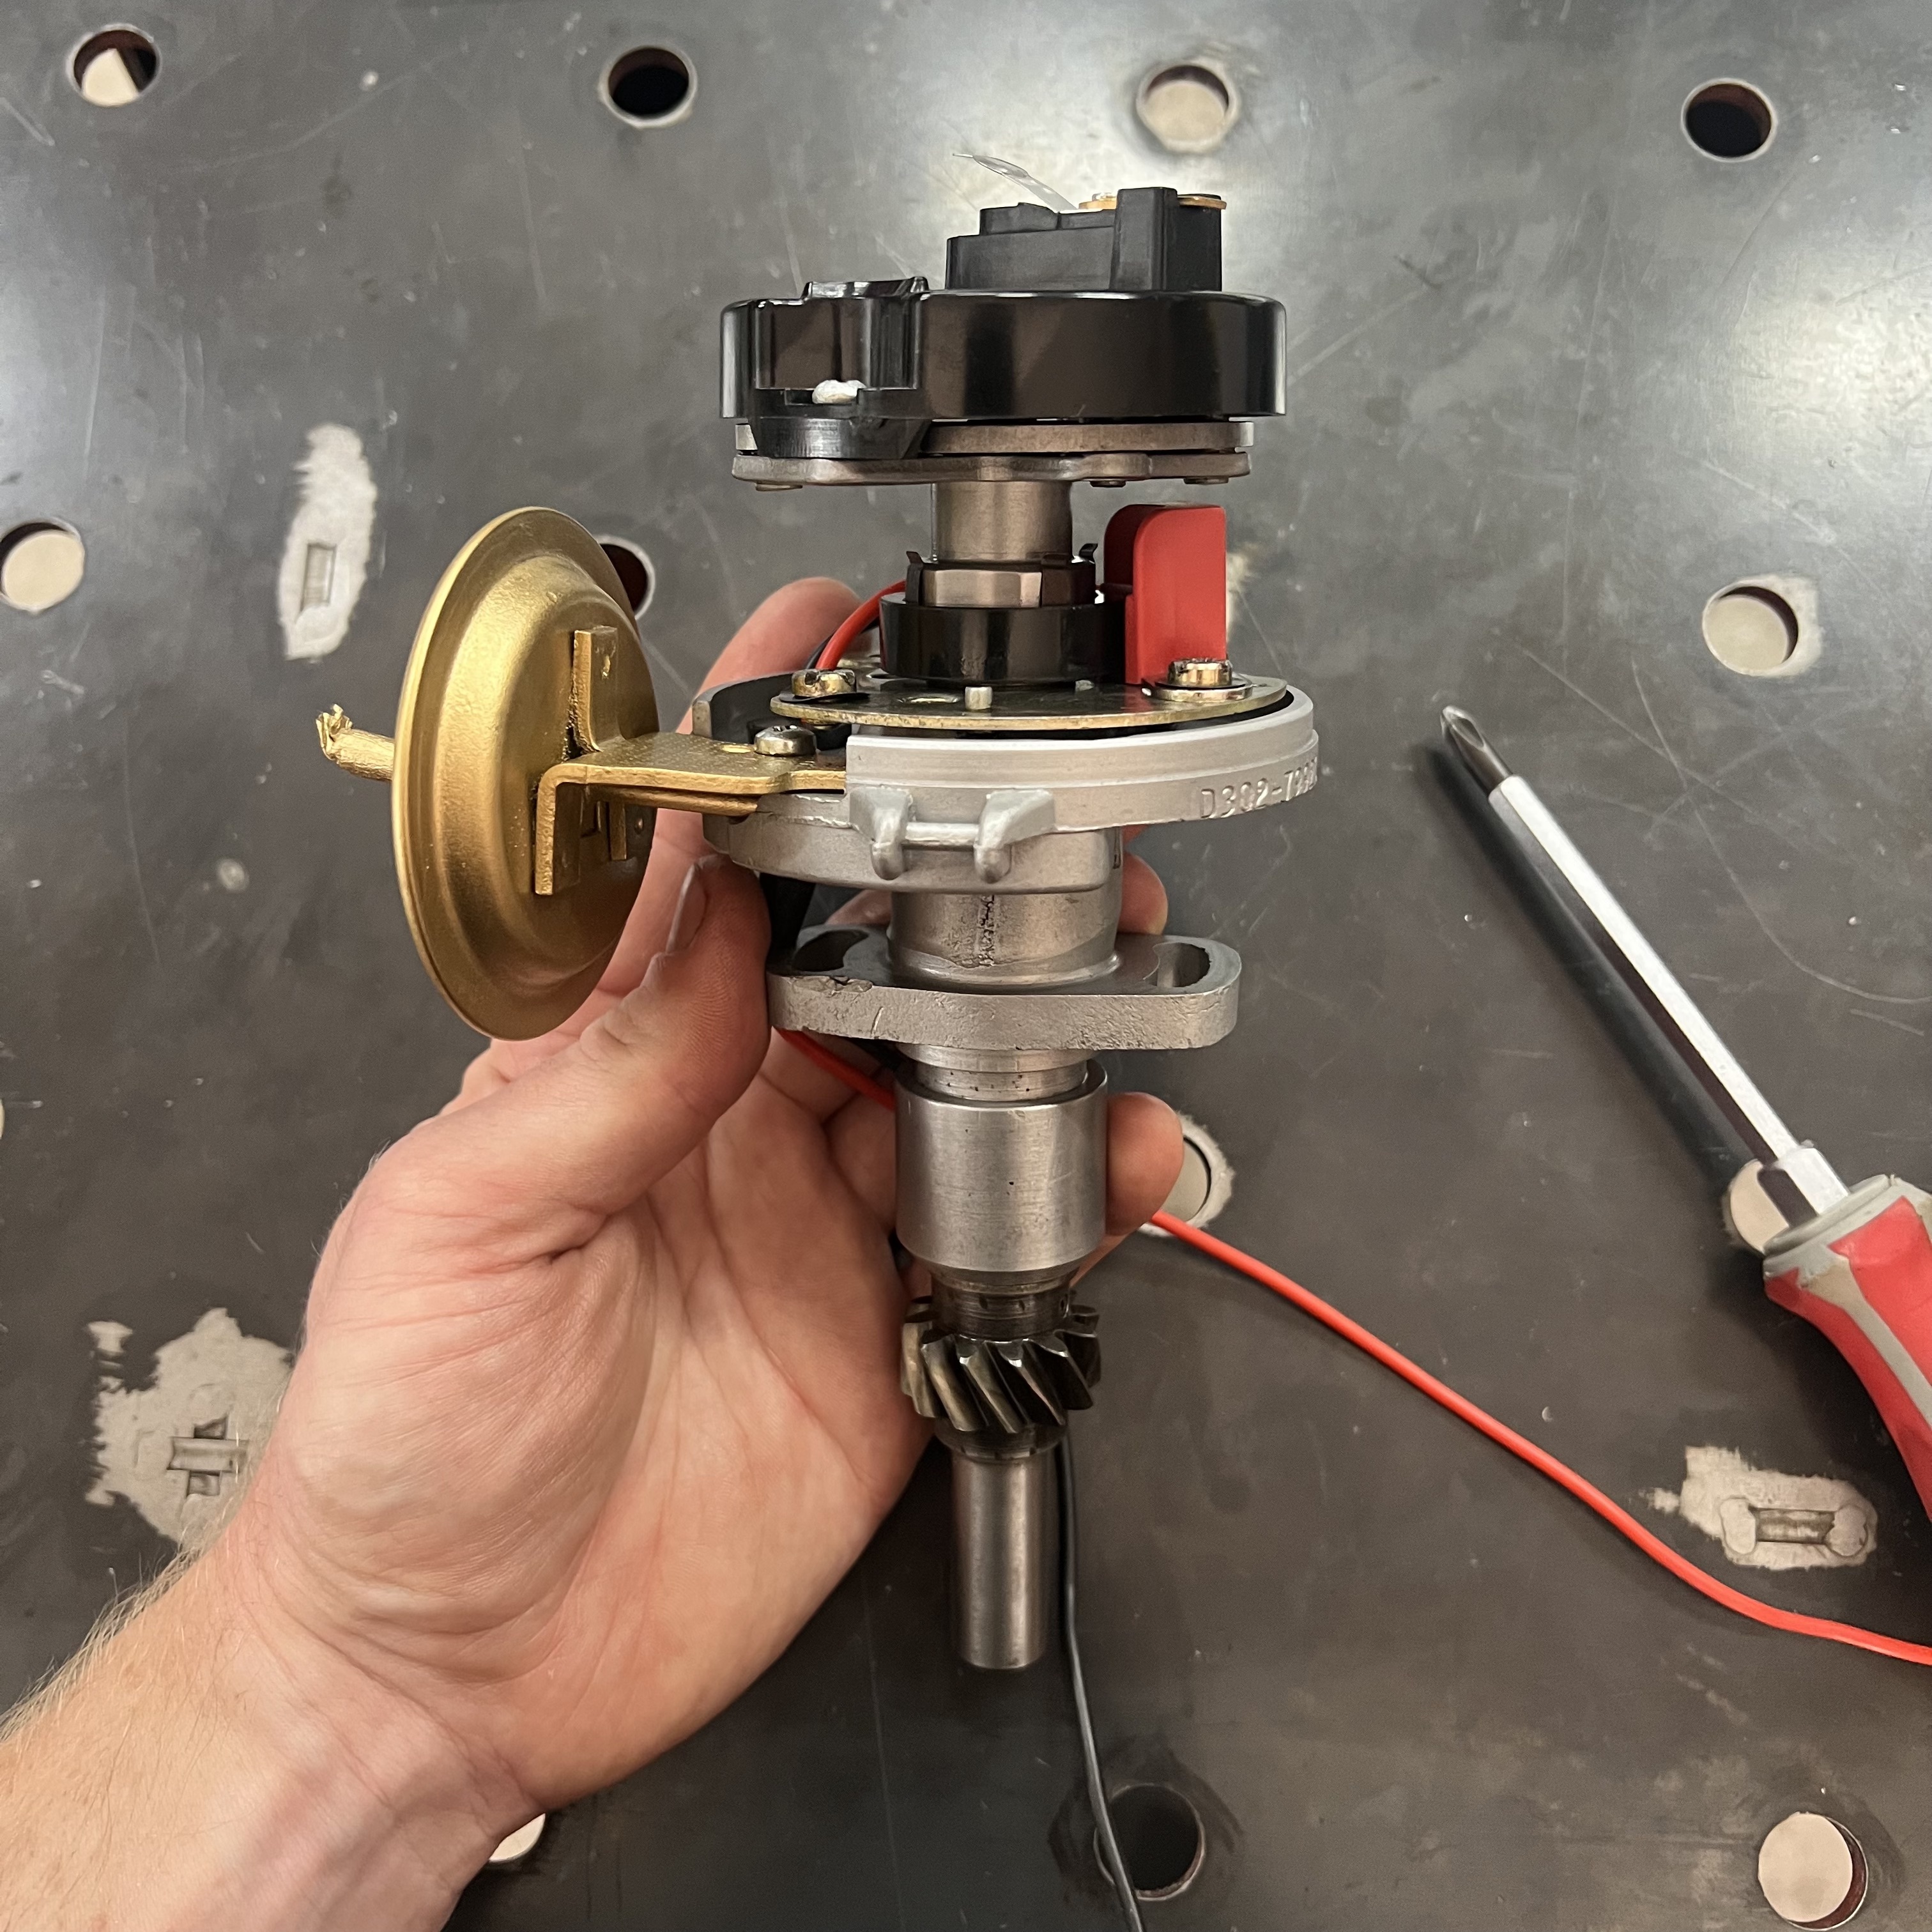
Coated with WD-40, all of the critical components were now well-protected from the elements and were easy to reinstall. The vacuum advance unit - in gold, on the left - was cleaned and re-sprayed before being reinstalled. Instead of trying to find another set of points to replace those ones that were missing, I upgraded the Delco to a new electronic ignition, which you can see as a red box on the right. It came with brand new wiring to replace the damaged old set. I hope this will save myself, and the future owner of the Triumph, many hours of maintenance and troubleshooting. I ordered a new set of springs for the advance weights, and a new rotor - the black plastic part at the top of this assembly, which I mentioned earlier - and these also arrived by courier from a specialist in the United Kingdom.
Step 5: Final Touches


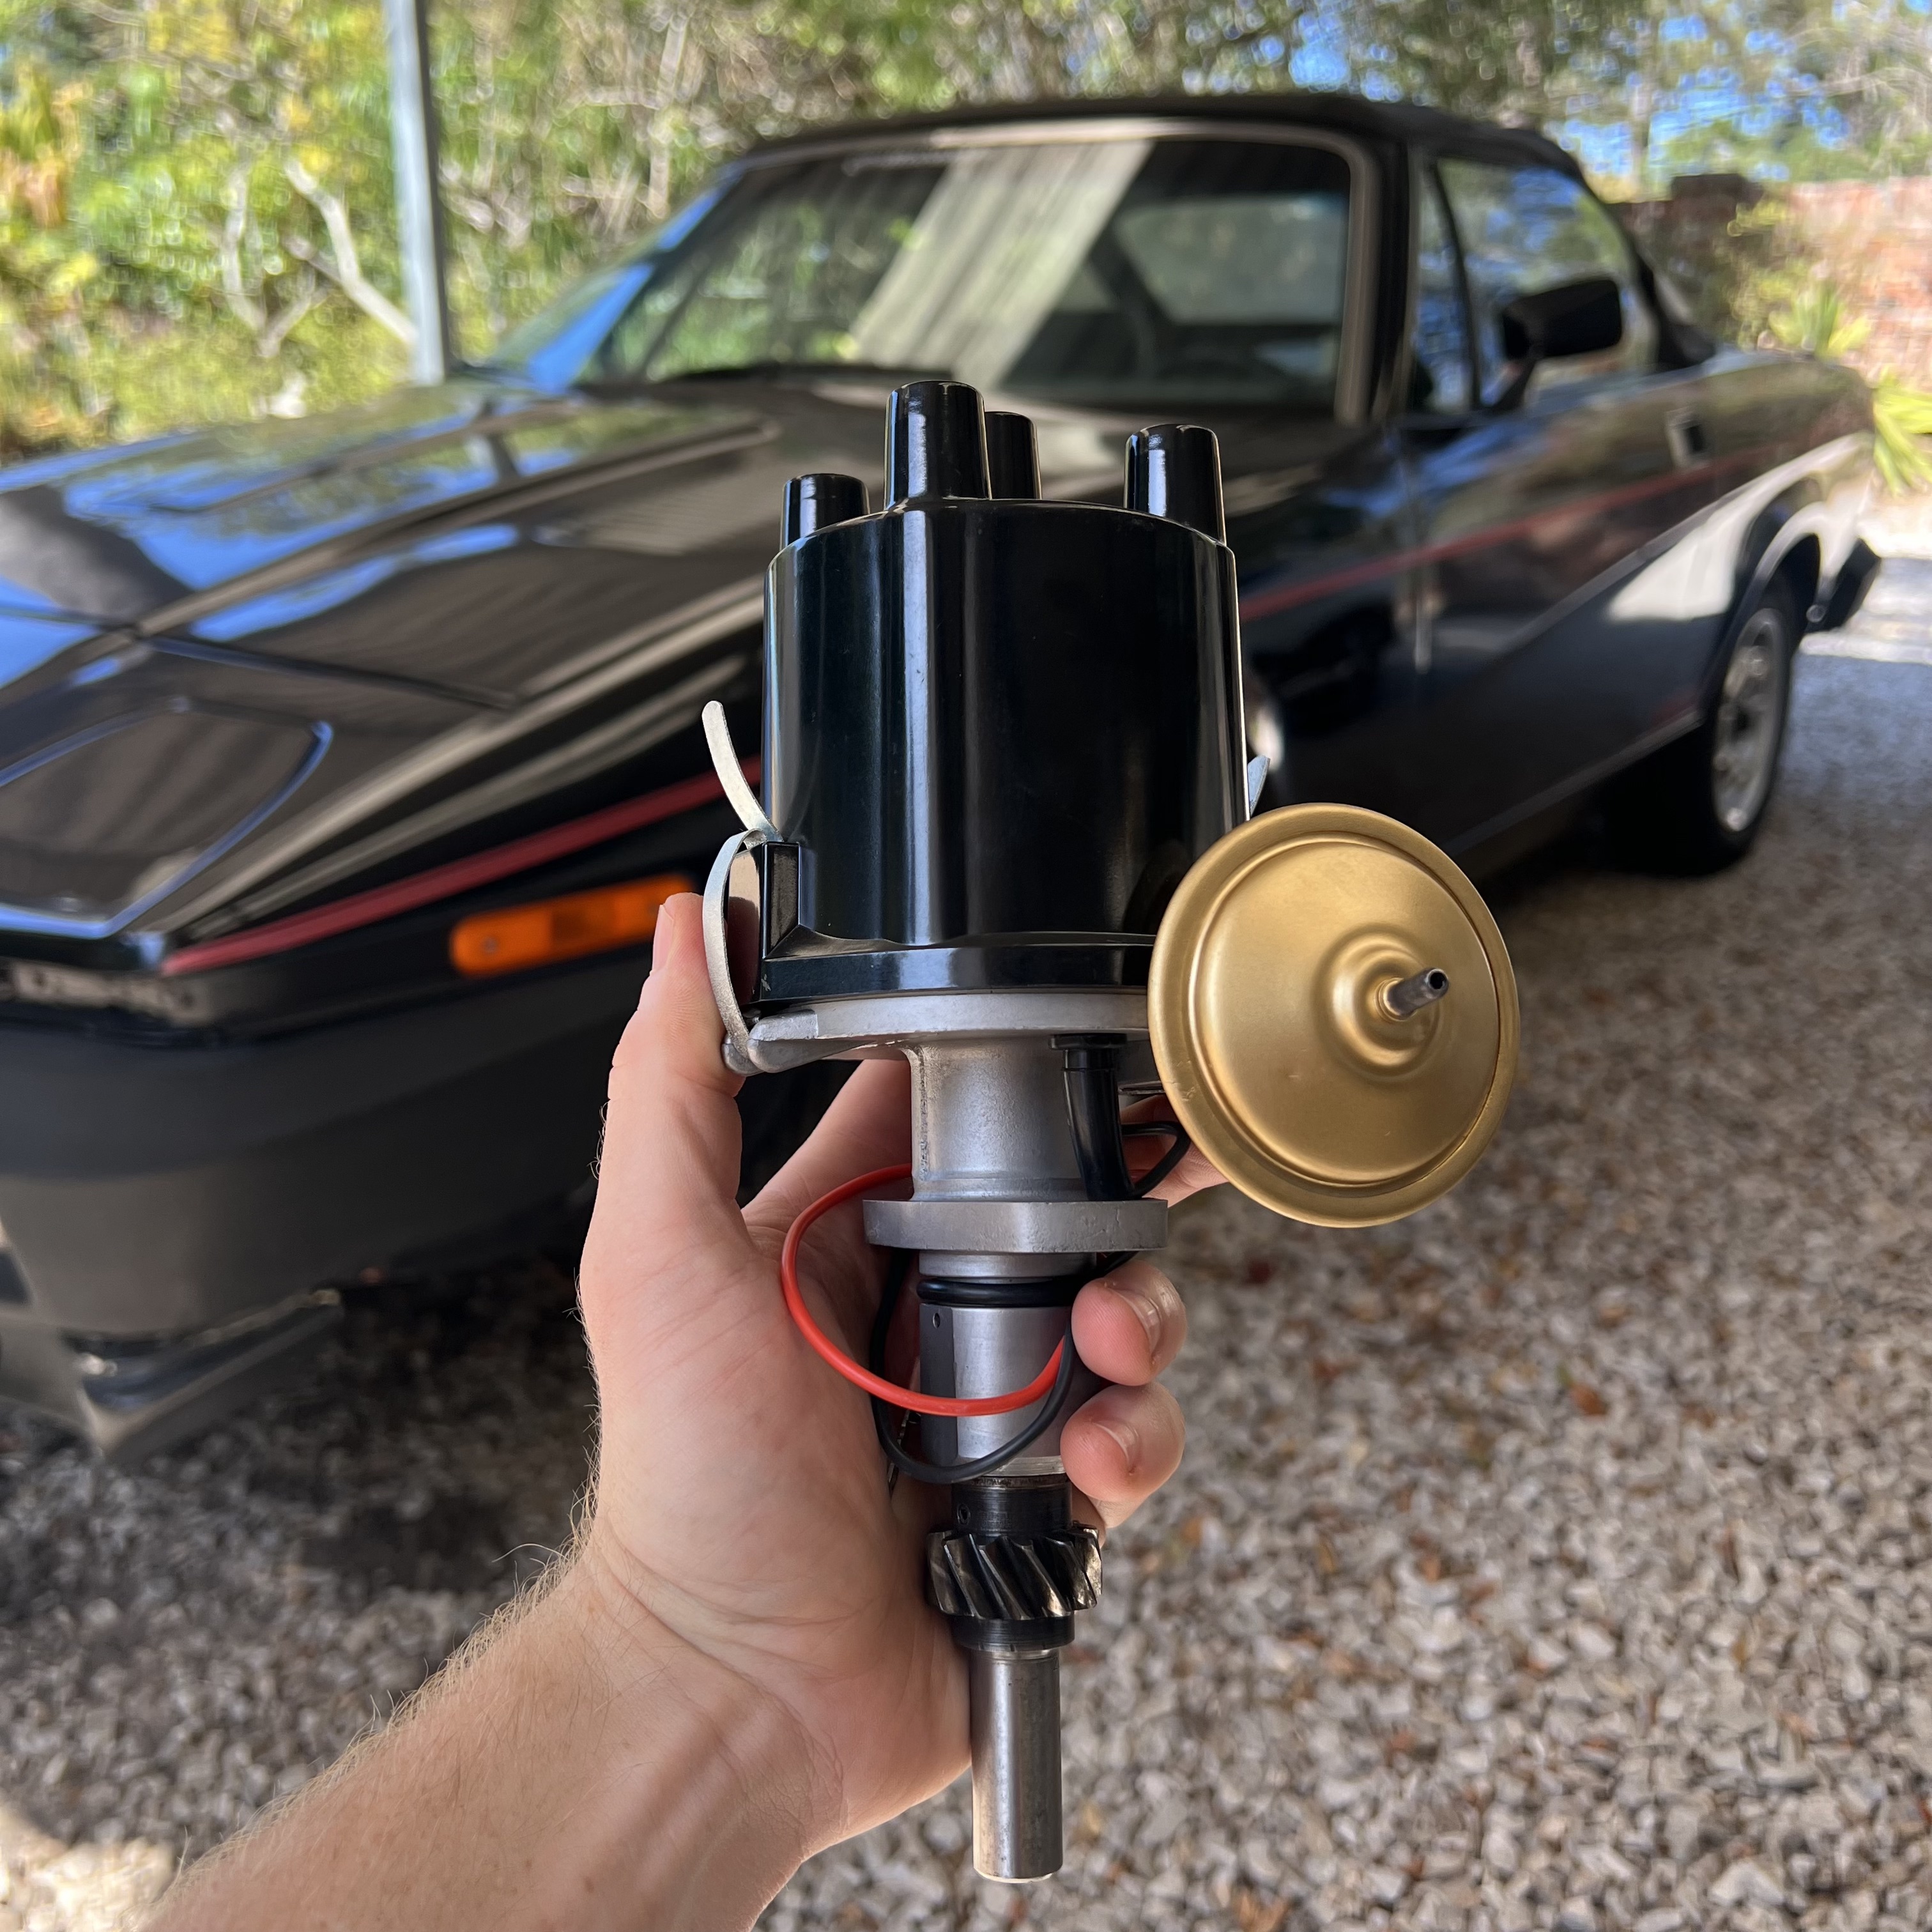
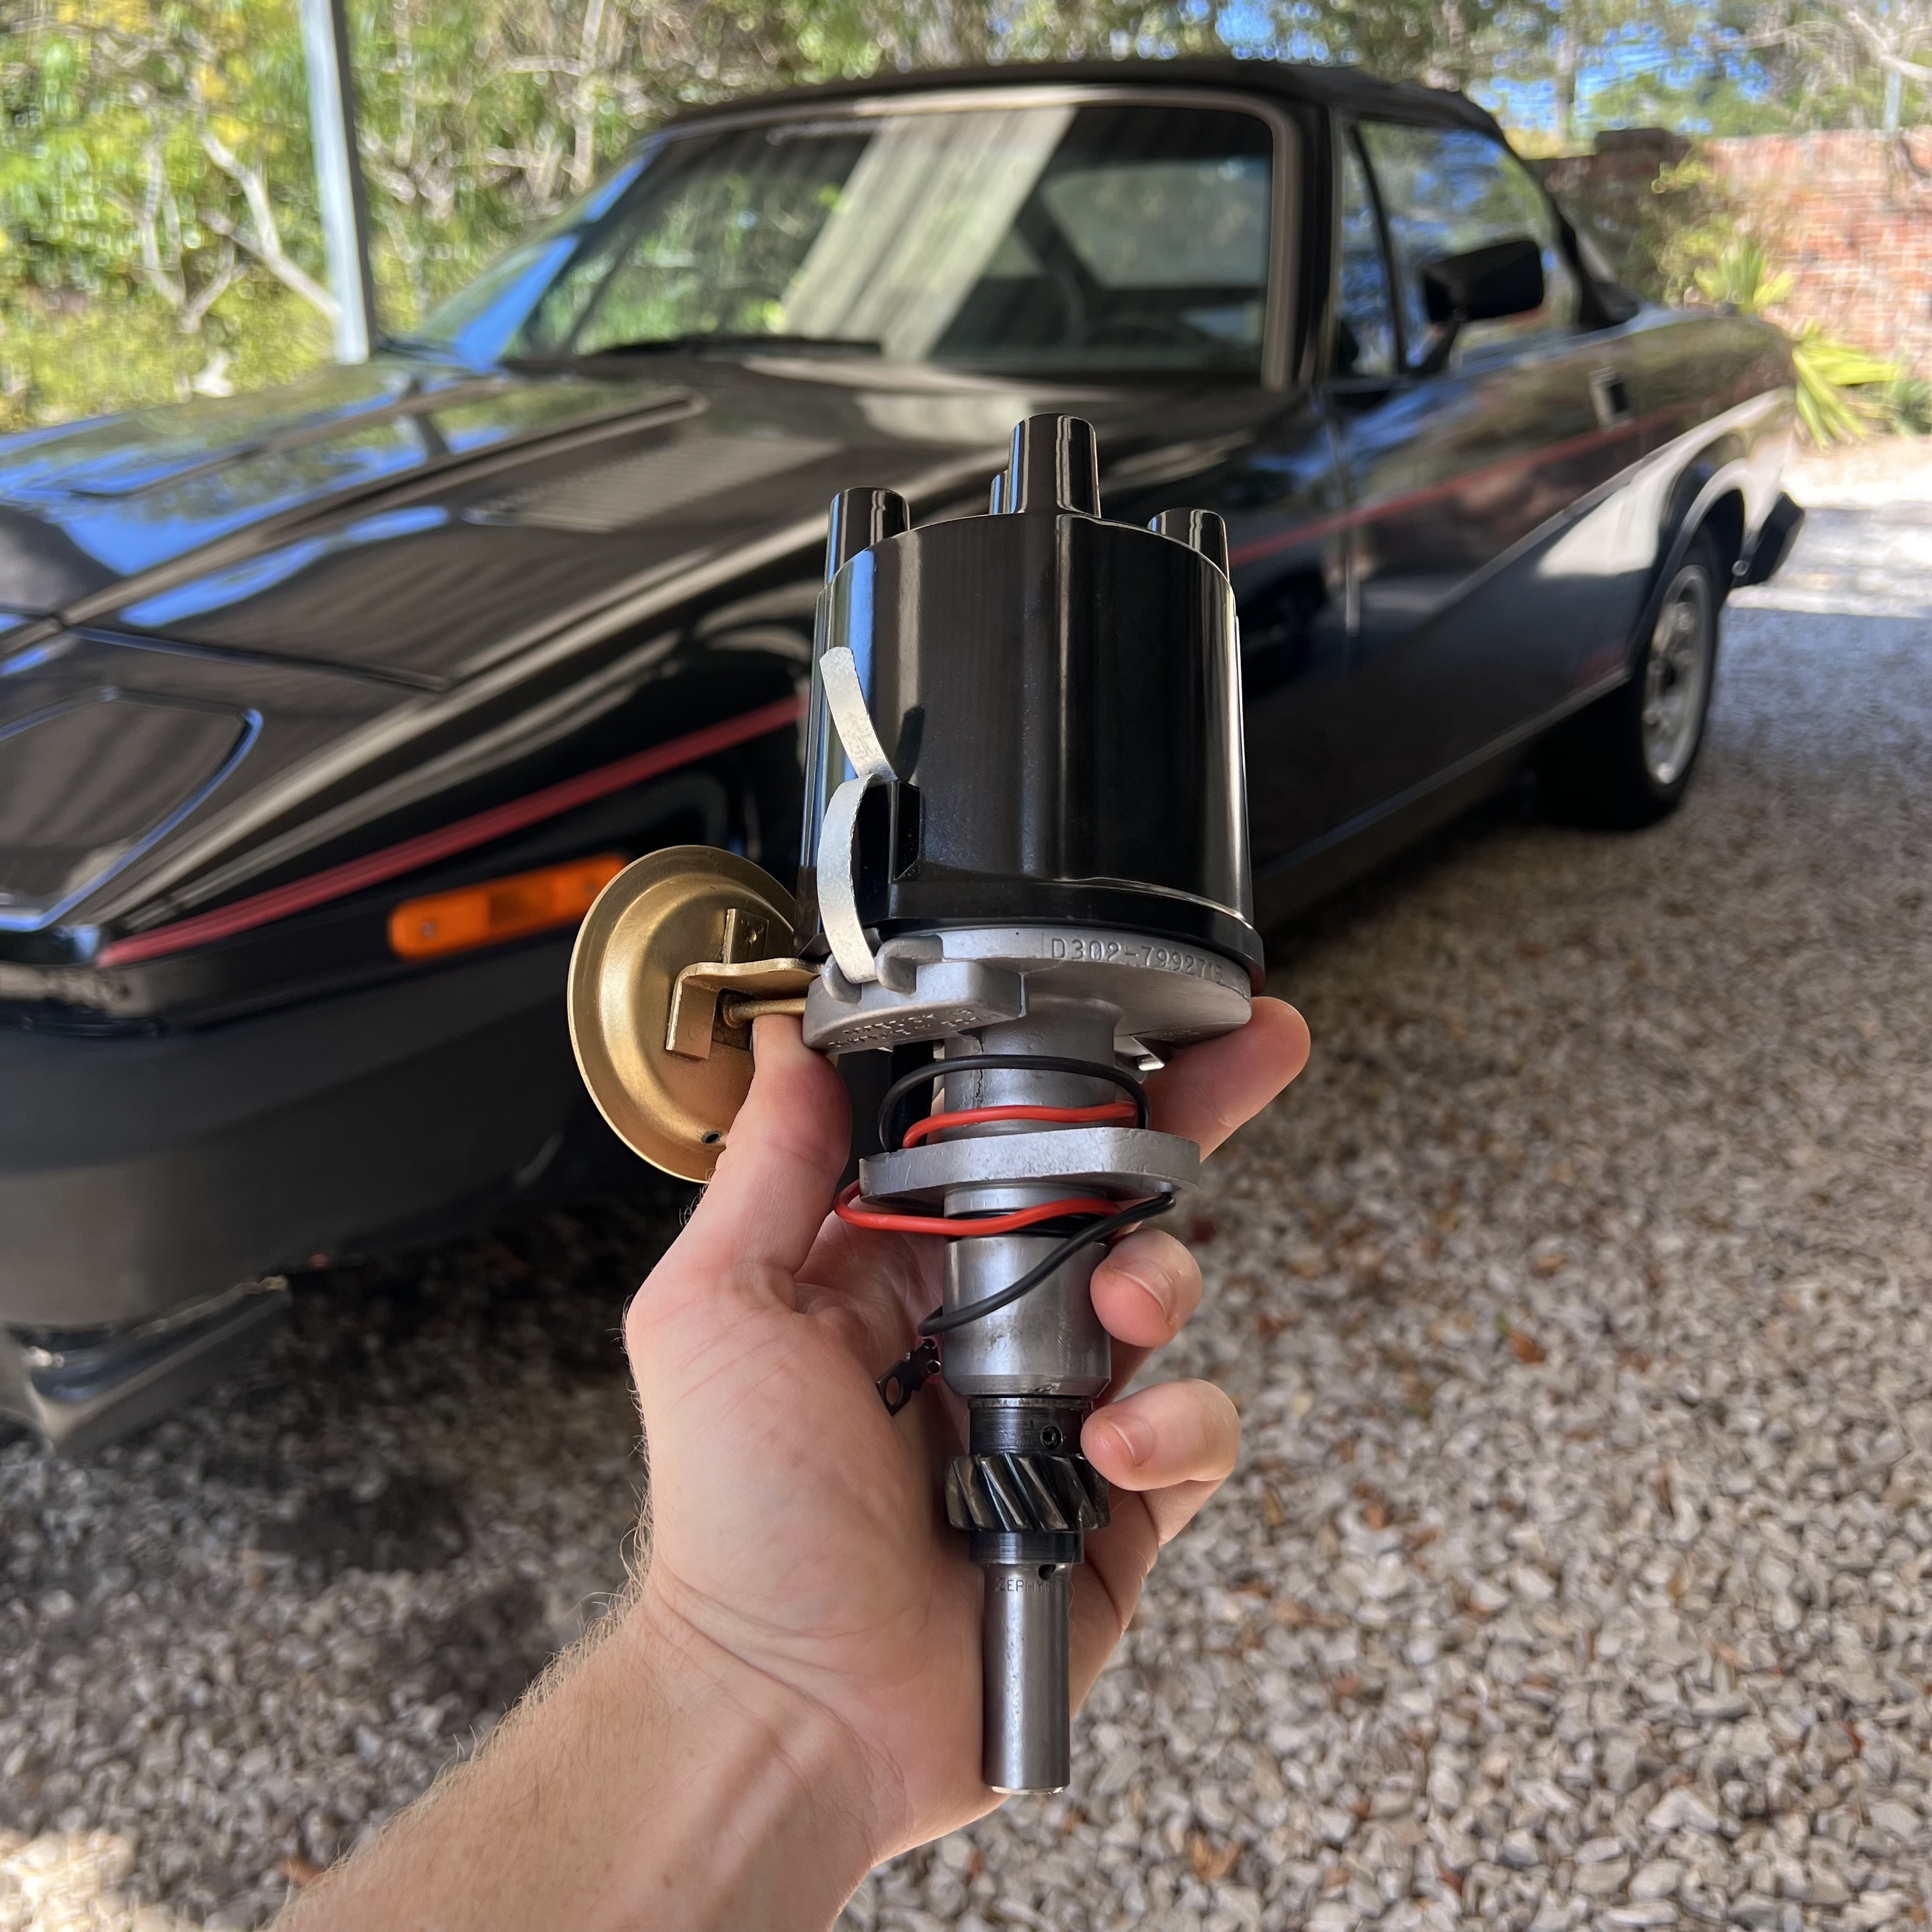
With some luck, I managed to find a helpful fellow classic car enthusiast who had a set of the missing clips for holding the distributor cap on. I sent the clips out to a local business to be zinc-plated so they look just like new. With the cap on, the Delco is now finally ready to go back into service. Here, you can see the Triumph in the background, waiting to once again hit the road.
Thanks for reading, and thanks to WD-40 for the great product. As you can probably tell, WD-40 gets used a lot in my workshop, and there are plenty more repair projects like this which I have done with WD-40's help. I wish I could upload them all!